


“Organization is correlated to efficiency, efficiency is correlated to productivity, and productivity is correlated to success,” I recall saying that as a teacher to my students over the years in both an academic classroom and an outdoor setting as a survival instructor when talking about how to build a survival kit.
You probably know someone who is an absolute trainwreck when losing or misplacing items. They probably waste a lot of time looking for something that shouldn’t be hard to organize, and as a result, they are less productive in their task.
This concept of organization leading to success plays out in all areas. On the range, you won’t shoot as fast or even present your weapon as quickly as possible if you rotate where and how you carry it. If you put your tools back in random drawers instead of designated spots, you’ll spend more time in your garage working on your go-rig longer than you have to.
How does one learn to become organized? Well, the answer isn’t in making statements but in asking questions and thinking about them logically. Each day, you can practice organization by applying basic principles to your EDC and emergency or survival kit. Here’s how to organize your survival kit.
Consistency is Key
The key to organization is consistency. If you routinely place items in certain locations and in a certain way, you build up a memory of where to find them when you need them. Imagine how life-changing it would be if you applied a key protocol to where you put your keys every single day. You wouldn’t search for them in couch cushions or in all of your jacket pockets hanging in the closet. Think about how this plays out with your EDC items and your survival kit.
I have my Swiss Army knife in my right front pants pocket — never anywhere else. In my survival kits, I place fishing equipment deep in the kit as it is a low priority and medical equipment toward the top. In my small emergency and survival kits, that means the strip bandages are the last to go in, and in my backpack, my med kit rides in the top flap pouch.
You need a system, and to create one, you must ask yourself, “What do I need frequently? What will I have time to access? What is the best place for this for convenience? What is the best placement for that for security?”
RELATED – SOF Medic on Wilderness Medicine Planning
How Water Resistant is Your Survival Kit?
The element that worries me most in my survival kit is moisture. I always plan for an accidental dunking and want to make sure my kit will survive it. Many times, what you carry will be water-resistant, so much so that daily carry in a simple pouch will suffice.
If you need extra protection, you can purchase small zipper-lock closure bags at jewelry stores to organize your tinder, fishing kit, and small odds and ends. The water-resistant bags serve two purposes, maybe three. They keep your gear dry, keep items separate, and help you quickly identify what is in each bag. When they start to show some wear, replace them or reinforce them with duct tape.
Other waterproof options exist to protect smaller items in the form of small bottles and even heat-sealed straws. One consideration you may want to factor into your planning is how to protect your equipment from your equipment. Those water-resistant plastic and glass bottles are great air-tight-sealed containers for iodine water-treatment pills.
If you don’t seal the iodine in your emergency or survival kit, it will cause the metal components to rust, and it can turn plastic “iodine orange.” A better option for water treatment is Aquatabs.
How Durable Is Your Survival Kit Gear?
You might be wondering why durability is included in an article on a kit’s organization. Well, it matters when you think about the rigors your kit must endure when accidentally dropped and banged around. A popular container for an emergency or survival kit is a backcountry billy pot. T
hink of a standard mess kit with a bail handle, and you have what the late Mors Kochanski would build a kit from. The pot is steel, and it will protect you from the sharp contents.
You also want to think about what happens to your kit if you drop it, or if it gets stepped on. Worse yet, what happens to your kit if you accidentally run it over? Of course, we can avoid that vehicle encounter if we monitor where it is and secure it on our person or inside our rig. As you build your kit, think about what items inside need the most padding and insulation.
When I pack an emergency signal mirror made from actual glass in my survival kit, it usually rides inside a foam sleeve I fashion with duct tape and some scrap foam. Think about how durable your kit is and what you can do to protect its contents from drops, dings, and damage.
RELATED – Survival Tactics: Life and Death Lessons From Our National Parks
What Categories Can You Break Your Kit Into?
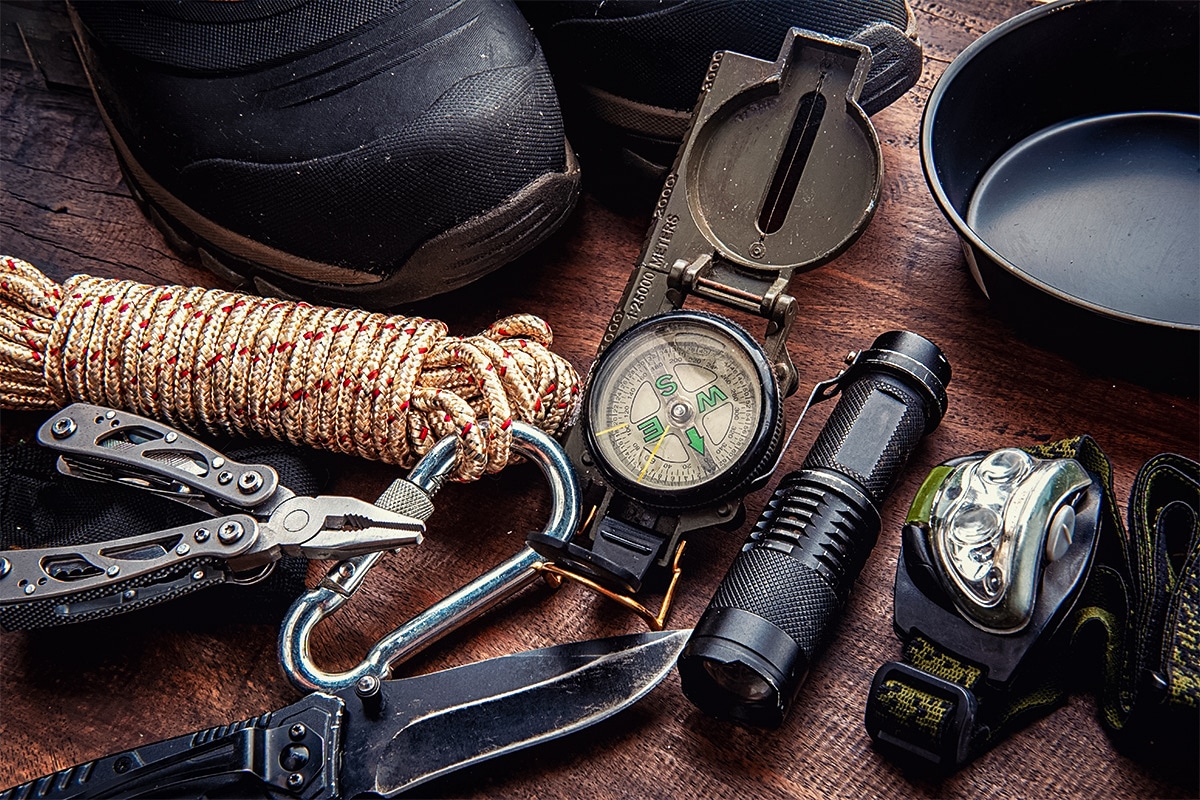
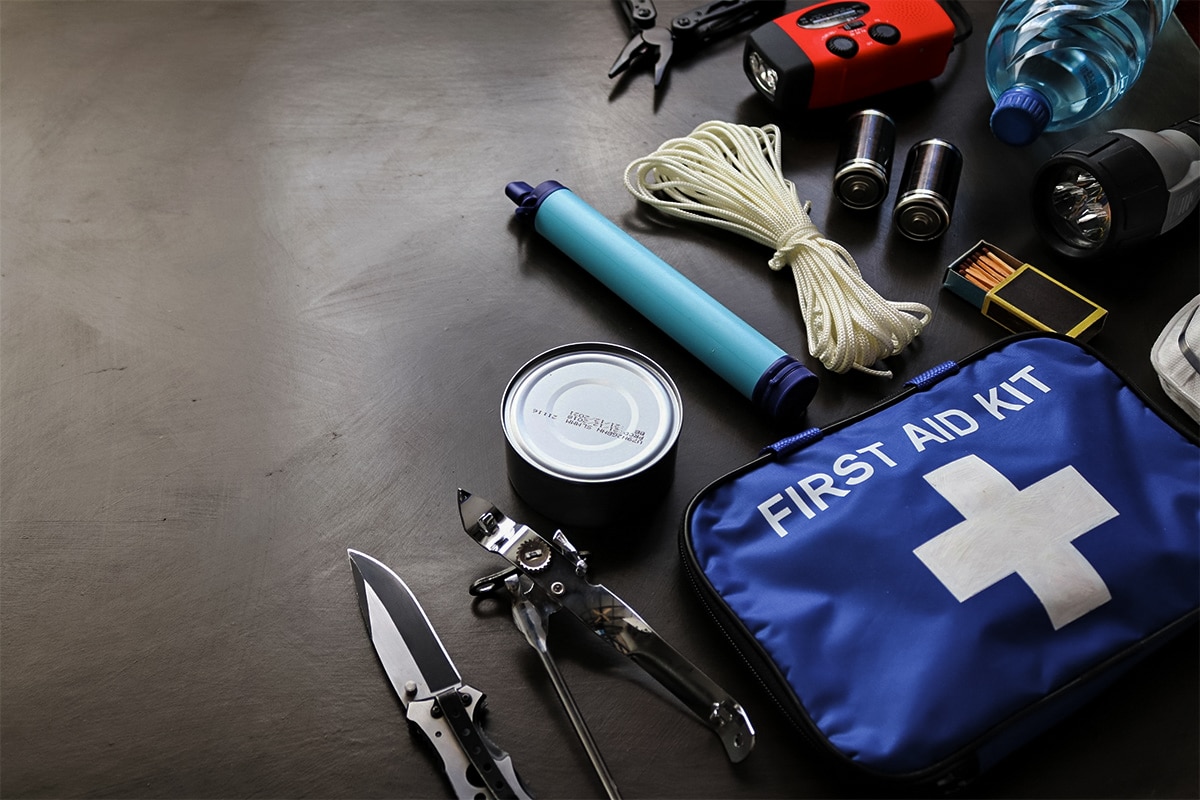
Depending on where you are and what you consider a “survival kit,” you will break your kit down into different categories. A shelter may consist of emergency blankets, ponchos, even cordage cut into set lengths. Your fire kit might be a Ferro rod, lighter, and some sort of stormproof match. Water needs might be met by some purification tabs, a water bottle, and a metal cup.
A sensible way of looking at your kit is to think of it in terms of addressing basic needs. You must provide protection, shelter, water, food/sustenance, fire, cordage, tools, etc. One of my favorite kits, and the one I have carried the longest, is in a small Kifaru pullout pouch in silnylon. The pouch is large enough that I don’t have to carefully pack all the emergency or survival kit items to get the zipper to close.
Pack One, Practice with the Other
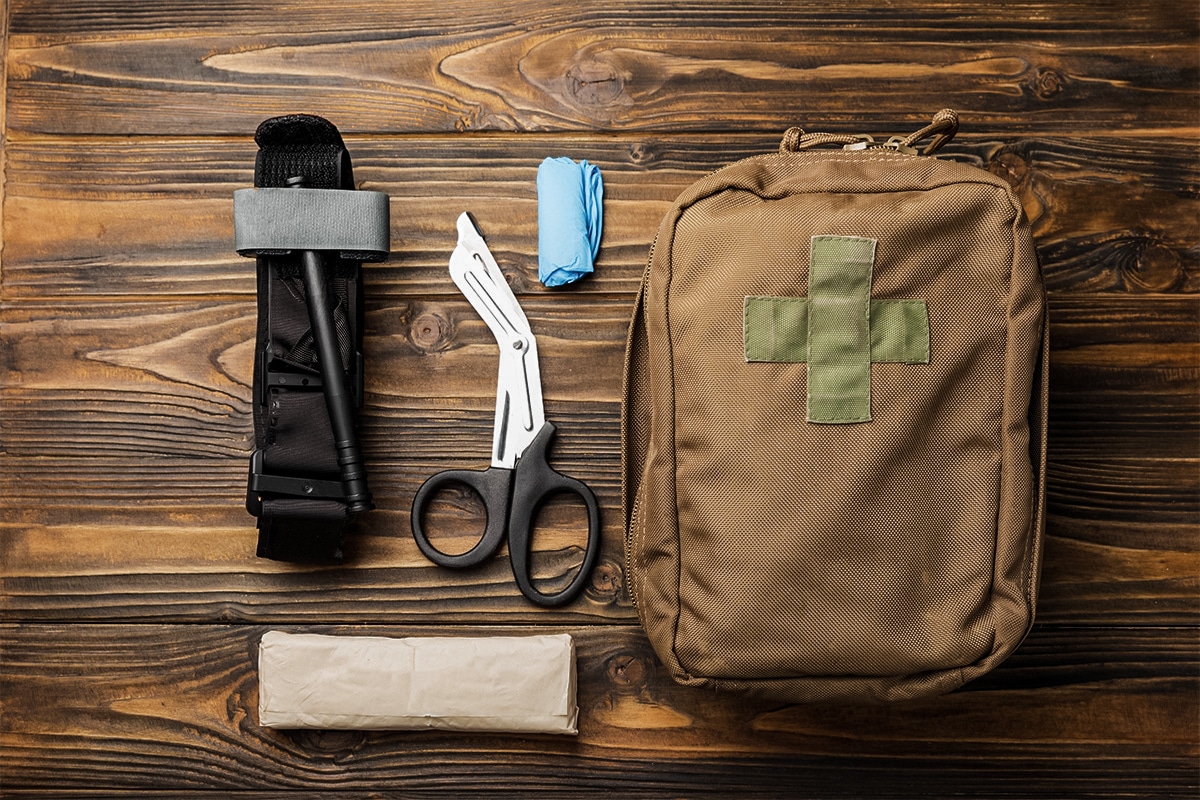
The CAT 7 tourniquet is available in a training version as well as a version meant to be used only in an emergency. Similarly, you should create a survival kit that you pack and never open except for emergencies and a survival kit you can take to the woods and practice with. The problem with using your emergency kit for non-emergency use is that you degrade certain items. A Ferro rod from the factory has a protective coating that gets worn off with any use.
It’s wiser to organize your kit into items you’ll pack away and items you’ll practice with. When you have two identical kits, build consistency with the way you pack them. If you pack one a certain way and the other differently, you’re setting yourself up for failure if you need to access those items quickly. As much as possible, one kit should mirror the other. If you have to, you can use a paint marker to even designate the items in one kit as trainers with the universally recognized color blue.
Some Final Survival Kit Thoughts
I am a stickler for organization, and everyone reading will have to come up with a system of organization that works for them. It’s easy to confuse someone’s “clutter” with a lack of organization, but often what looks to be a mess to one person is a highly organized system for someone else. When I preached the virtues of being organized to my students, I wanted them to work more efficiently to get the best grades possible.
Seen from the perspective of a survival instructor, the measure of success is not in a letter grade but in life or death. If you learn how to organize your survival kit, you’ll have a better chance of finding what gear you need when you need it.
You’ll also know how to inventory it properly when you prepare to head out into the wilds of the world. The bottom line is, don’t set yourself up for failure. Embrace organization, and you’ll be thankful you did if you ever get put in harm’s way.
READ NEXT – The Best Tourniquets: Experts Discuss the Trauma Kit Essential


Comments