Unless you’re lucky enough to attend a military sniper course, there’s not much more than internet videos to teach you how to use binoculars and spotting scopes. Most hunters develop glassing skills through years of trial and error. Glassing isn’t rocket science, but it does require a person to be systematic in their approach, and to spend time behind glass to learn.
Korbin Williams, owner of Korbin’s Archery, along with help from Scotti Campbell, owner of Top-O-Texas Outfitters, and Aron Snyder, owner of Kifaru International, came up with a genius idea: bring military-style glassing training to the hunting world.
There has been a recent uptick in off-season hunting camps to help both new and experienced hunters glean skills they think might give them an edge going into the season. Not all of these camps are created equal. Most are more of a seminar where you listen to industry celebrities and “subject matter experts” talk about what they do in the field. Let’s call a spade a spade: Most of these camps are more for the self-promotion of one celebrity hunter or another than actual training.
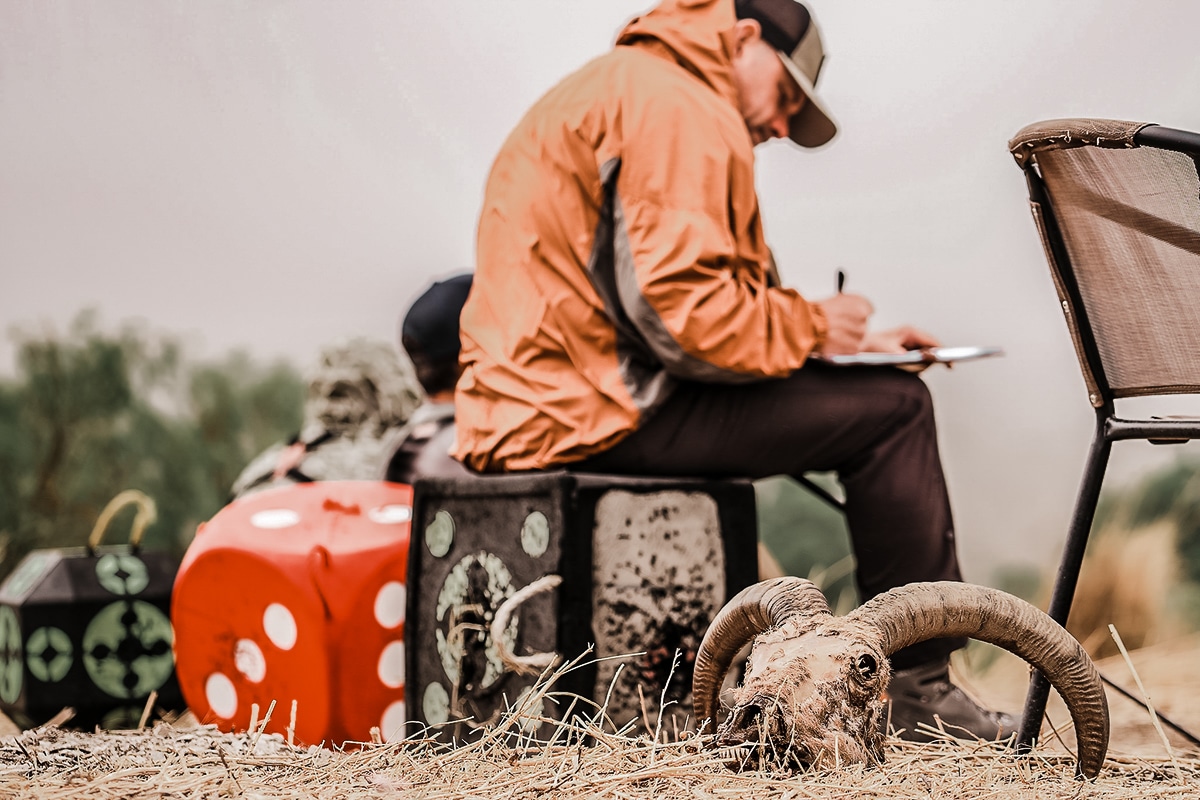
Does having a name like Snyder on the program sell seats? You bet it does. I have taught alongside him twice now and can confidently say customers get their money’s worth and more. He is an expert in his field and can effectively teach what he knows to the public.
For the glassing camp, we used the tested military style of teaching, which consists of classroom learning, practical exercise, more classroom instruction based on the performance of the exercise, and a final evaluation.
RELATED – The Essential Gear List for Bowhunting Pronghorn Antelope
Lessons From Glassing Camp
LESSON 1: Not All Glass Is Created Equal
When someone’s livelihood depends on finding animals for clients to kill, there’s a reason you see them with one of three optic brands; Zeiss, Swarovski, and Leica are what we refer to as the big three. What separates these brands from others aside from a significantly steeper price tag?
It boils down to where and how optics are manufactured. Many of the less expensive optics you see on the market are mass manufactured in Asian factories. I am not saying Asian-manufactured binoculars and spotting scopes are bad. However, the quality control compared to European optics is drastically different.
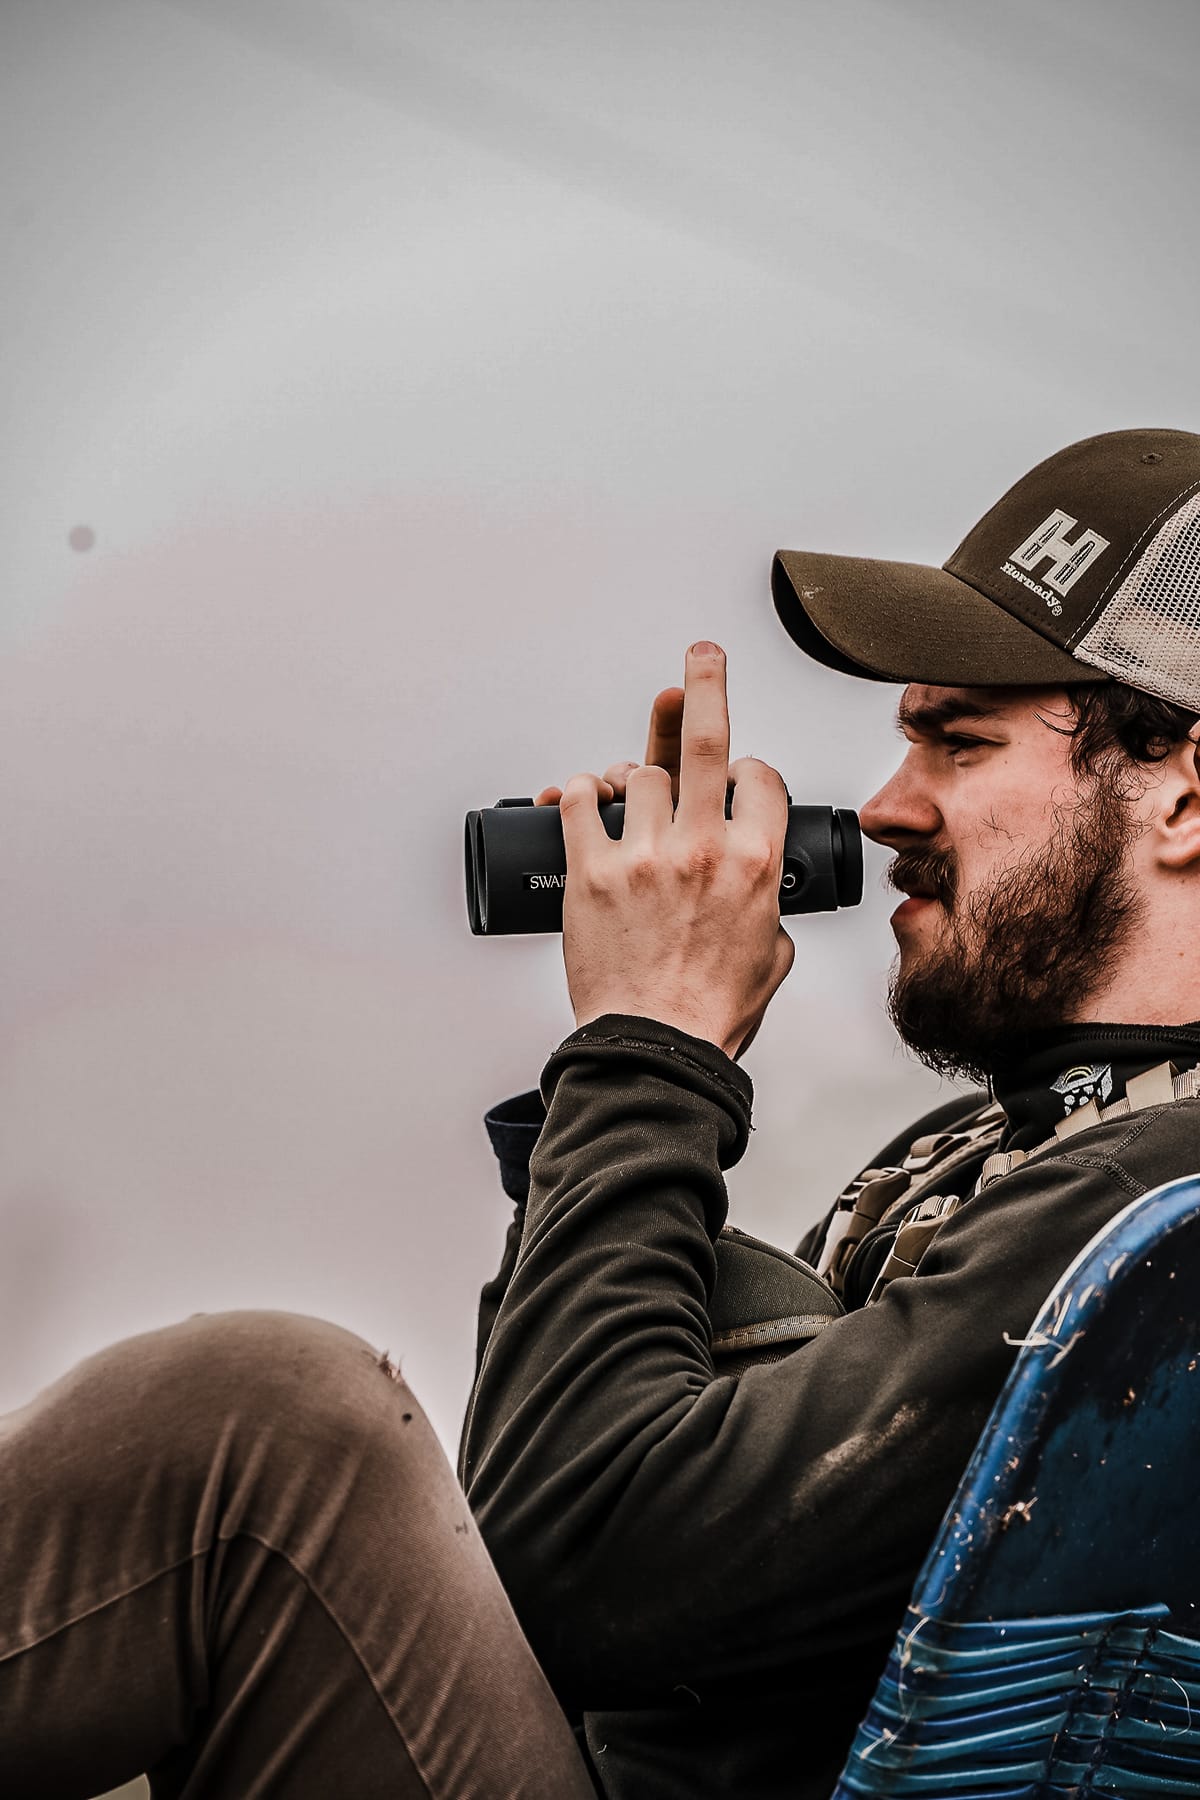
Swarovski, for example, produces their products in batches of 10. The entire batch does not move from one stage of manufacturing to the next until they meet the company’s stringent quality control — and stringent quality control also means many more human hands and eyes on the products throughout the process.
“Swarovski isn’t a glass-manufacturing company. We buy the best glass that meets our specifications. Swaro stands out in our attention to detail and precise glass-cutting techniques that the company was founded on, followed by our lens coatings,” said Trent Swanson, Swaro’s mountain territory sales representative.
Lens coatings are the most closely guarded formulas of any bino or spotting scope company’s manufacturing process. The attributes of lens coatings are relevant to hunters for several reasons.
When light hits any glass lens, some is reflected off and lost. Coating a lens helps reduce lost light, directly affects the light transmission through the optics — that means better light collection and transmission for a clearer image. Since the animals we chase are most active right before sunrise and sunset, light transmission is critical to staying on glass longer with as little light as possible.
Lens coatings also affect things like color and contrast. Certain brands of optics have an almost blue or yellow hue; this is due to the lens coating. Every person’s eye is different, and whether you prefer one of those hues or a true color to help you spot animals is a personal choice.
LESSON 2: Get Stable and Reduce Eye Fatigue
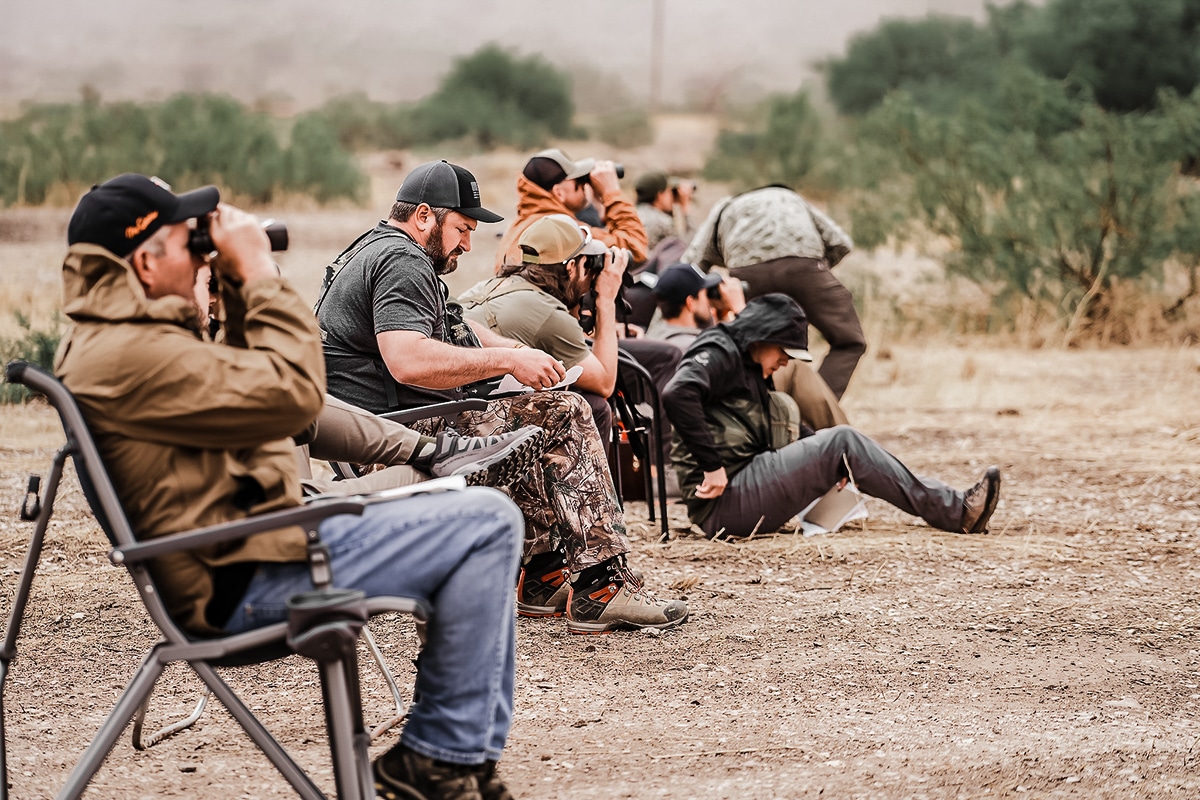
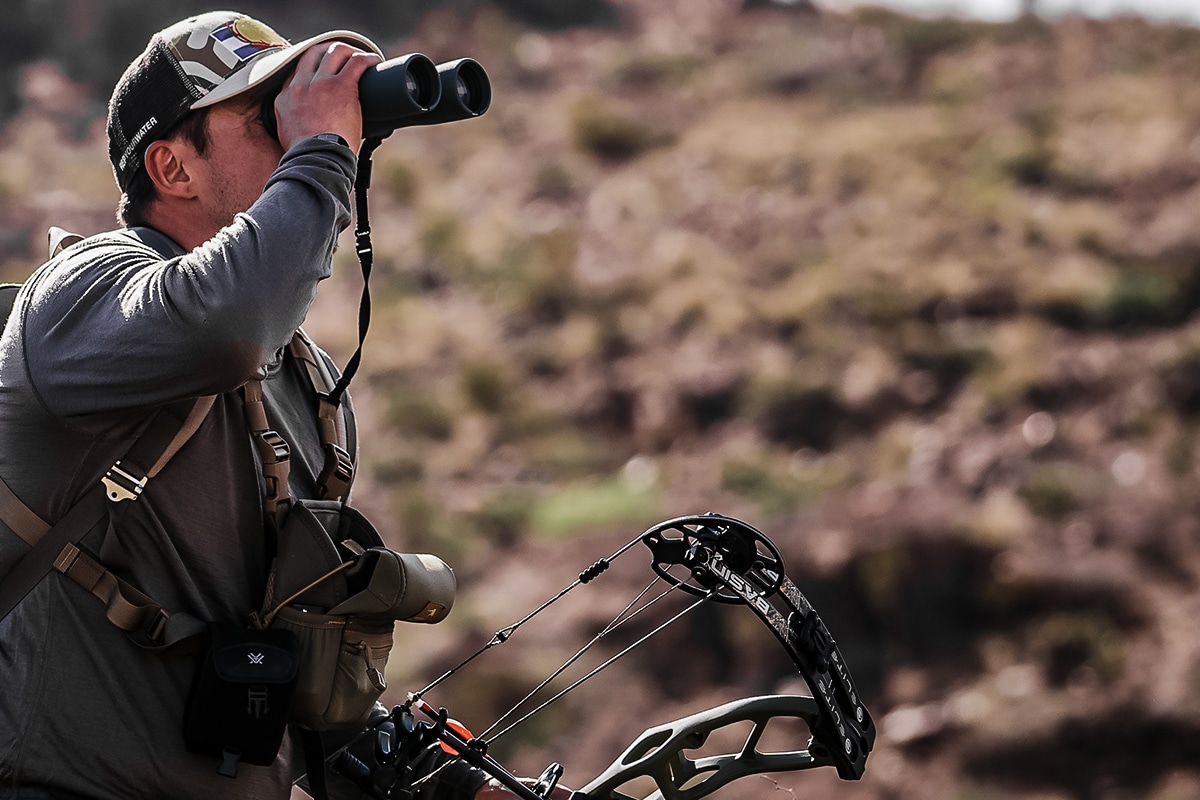
Regardless of the brand of optic you use, stabilization is critical. A steady, stable optic is critical in reducing eye fatigue and spotting animals. The higher the magnification of the optic, the more critical stabilization becomes. There are several ways to get stable, either by using a tripod or various field expedient methods.
Get a tripod if you’re trying to pick apart large swaths of country with binos or a spotter. If you’re using binoculars off hand, there are numerous little tricks you can use to get more stable: lean against a tree, sit down and rest your elbows on your knees, lay prone with your elbows on the ground, or use a trekking pole or your backpack as a stabilizer. You can even put something like your sleeping bag in a stuff sack on your lap to stabilize your arms.
In my experience, 10X binoculars are the sweet spot for handheld binoculars. Anything above that and you lose field of view, which means movement transferred from your body becomes more apparent. The human eye naturally focuses on the center of what it’s looking at. If your optics are moving, your eyes are working to focus on the center.
Try this: Have someone record your eyeball while you look through a pair of binoculars and pan left to right. When playing back the video, you will see your eyeball moving quickly to stay focused on the center. I call this eyeball twitch, and it’s why your eyes will become fatigued quickly if you’re looking through an optic for an extended period of time while it’s trembling a bit in your hands.
RELATED – Elk Reaper: The Rise and Bowhunting Success of Aron Snyder
Lesson 3: Grab the Low-Hanging Fruit
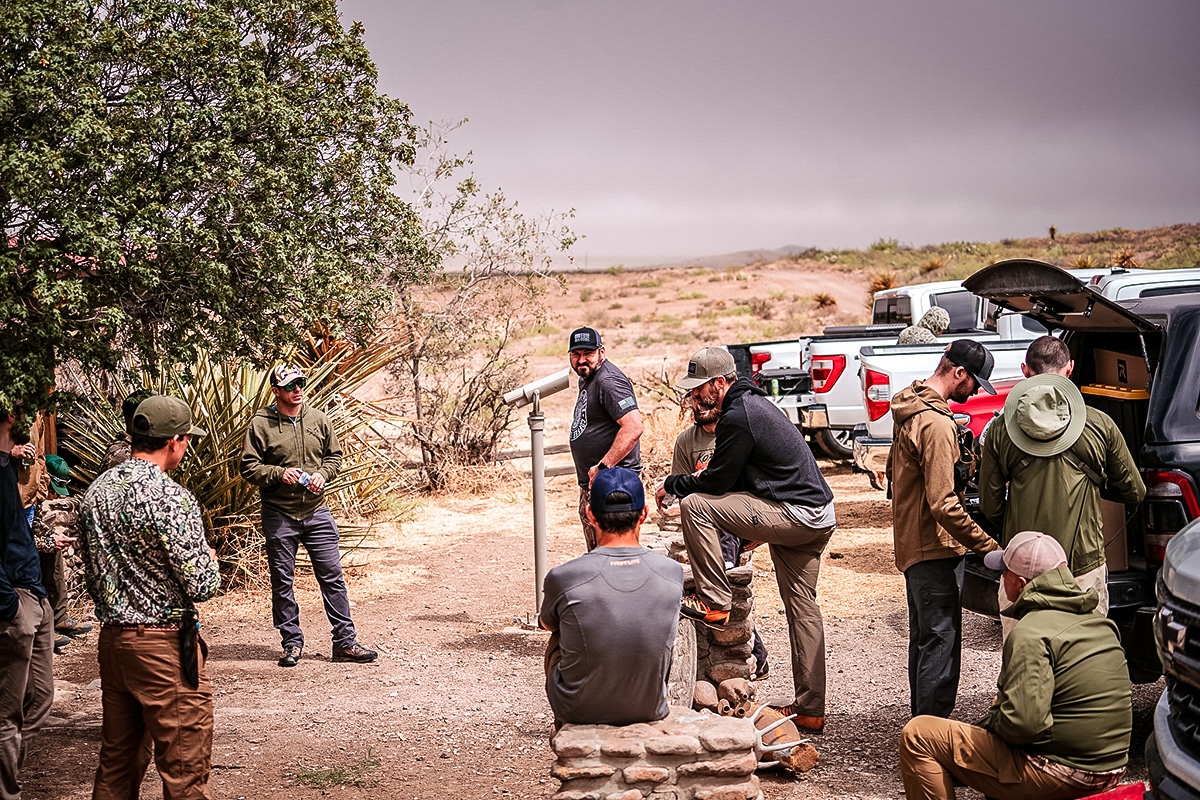
When you settle in to search a particular area for a trophy mule deer, elk, sheep, or whatever you are looking for, start by taking a quick photo with your phone. You can use the photo later to mark areas where you spot animals. This will help you get back on them more quickly if you move on to glass a different part of the terrain.
After taking the photo, scan the area with your naked eye. You’re looking for what Snyder likes to call low-hanging fruit — essentially you’re looking for movement and anything that contrasts with the background, like a brown deer on a green hillside. Take note of areas you may need to inspect further with binos or spotting scopes. This is also when you will eliminate areas that don’t need to be glassed because you can see animals aren’t there, like a rock face or open meadow with short grass.
During your precursor scan with your naked eye, you are coming up with a plan of attack for glassing the terrain with your optics. If you see something that looks like an animal, grab your binos and inspect it a little closer. If you spot an animal this way, great. If not, it’s time to get serious and start gridding.
LESSON 4: Gridding an Area With Optics
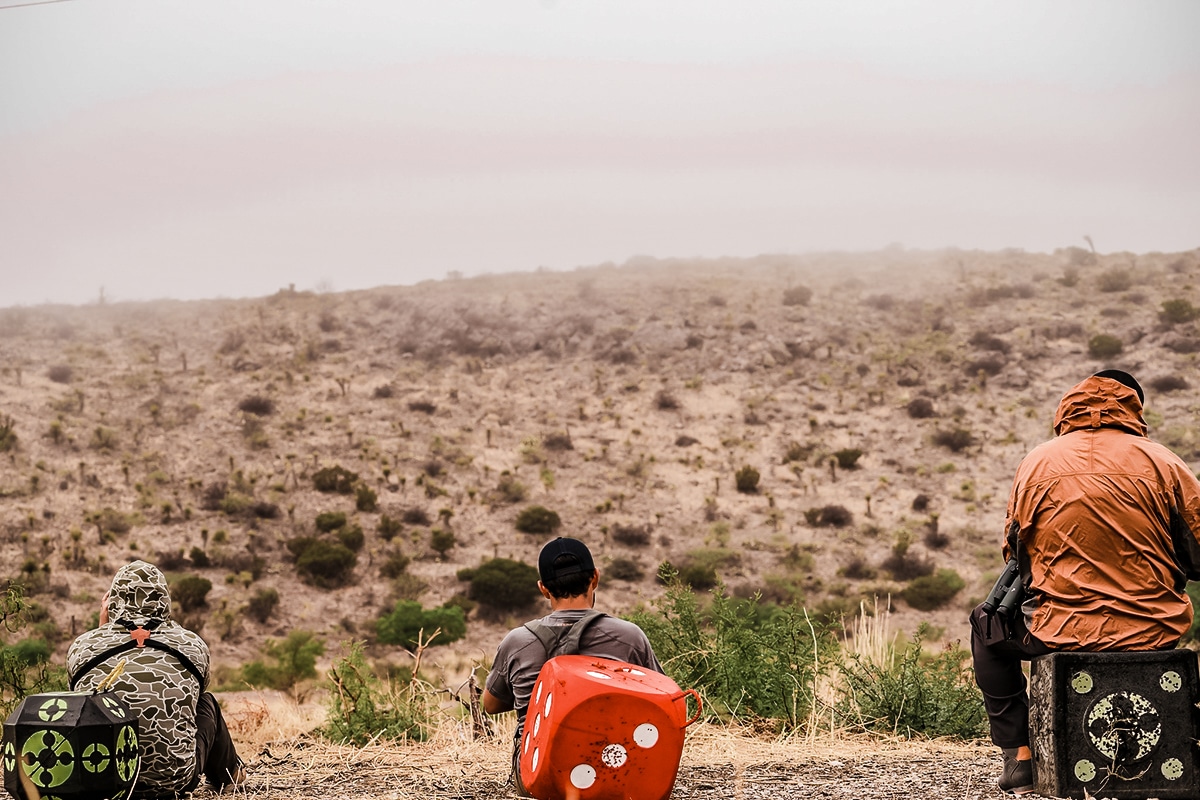
When glassing a piece of terrain, the general rule of thumb is to work near to far, low power to high power; that’s why we start the process with the lowest power we have, our eyes.
It’s time to move to your binos. I prefer to do this from a tripod to reduce eye fatigue and to allow me to scan the entire area in my field of view before moving on. You want to start close and move either left to right, or right to left. This also helps reduce eye fatigue, since your eyes will be focusing on approximately the same distance the entire time. I prefer a left-to-right pan, because that’s how I read and it makes sense.
I get my binos in place, taking mental notes or marking what’s left, right, and above my starting point on my photo. I then scan my field of view from near to far, left to right, until I have covered the entire field of view. I loosen my pan head, move my binos to the right limit of the area I just scanned, and repeat the process. If I see something I think is a critter, but can’t quite tell, I will mark the location on my photo and move on or immediately grab my spotter and give it a more thorough inspection.
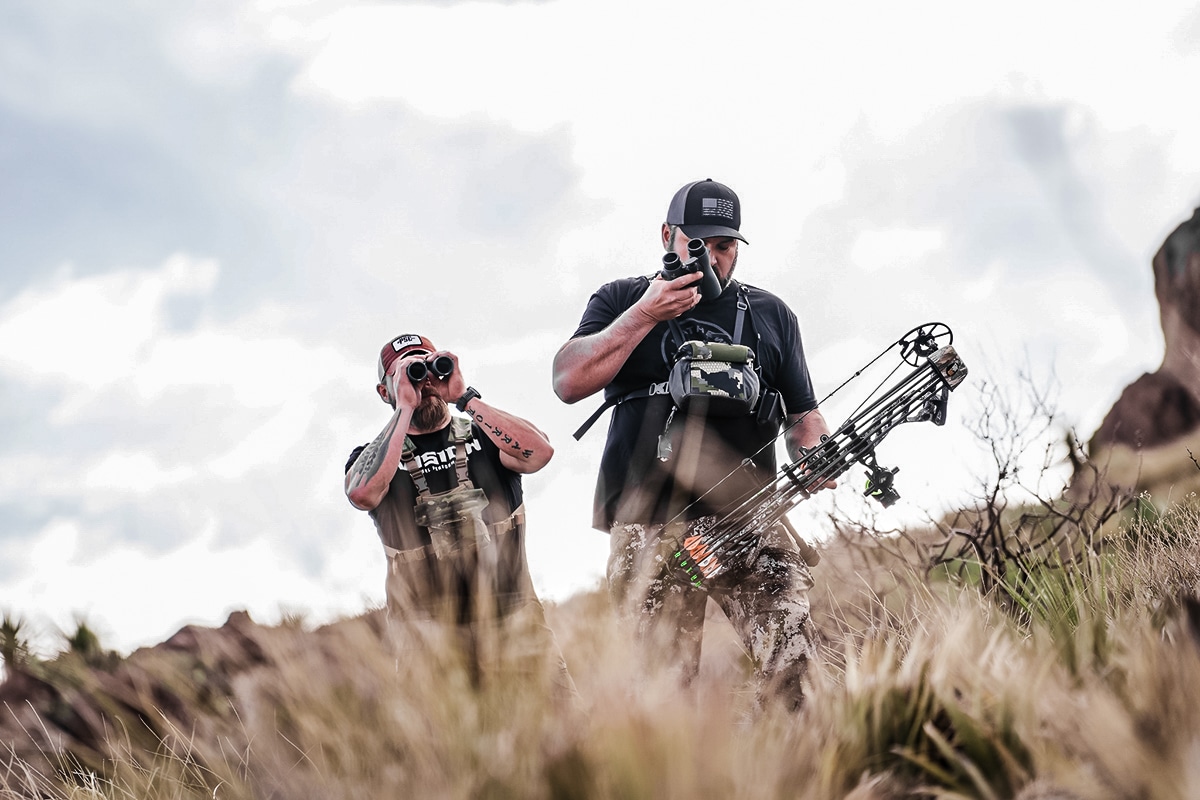
Once I reach my right limit, I have two choices, move my binos back to the left limit and up from my starting point or move them up from my right limit and glass right to left.
If you don’t find anything with your binos, repeat the process using a more powerful spotting scope. A spotting scope will always have a smaller field of view than your binoculars, and using one to complete a grid search will take longer.
If you still don’t turn up anything, either adjust your point of view of the terrain you’re searching to get a different angle around rocks, trees, and bushes, or move on to a new spot.
RELATED – 7 Backcountry Hacks That Will Help You Survive Deep off the Grid
LESSON 5: Things to Look For
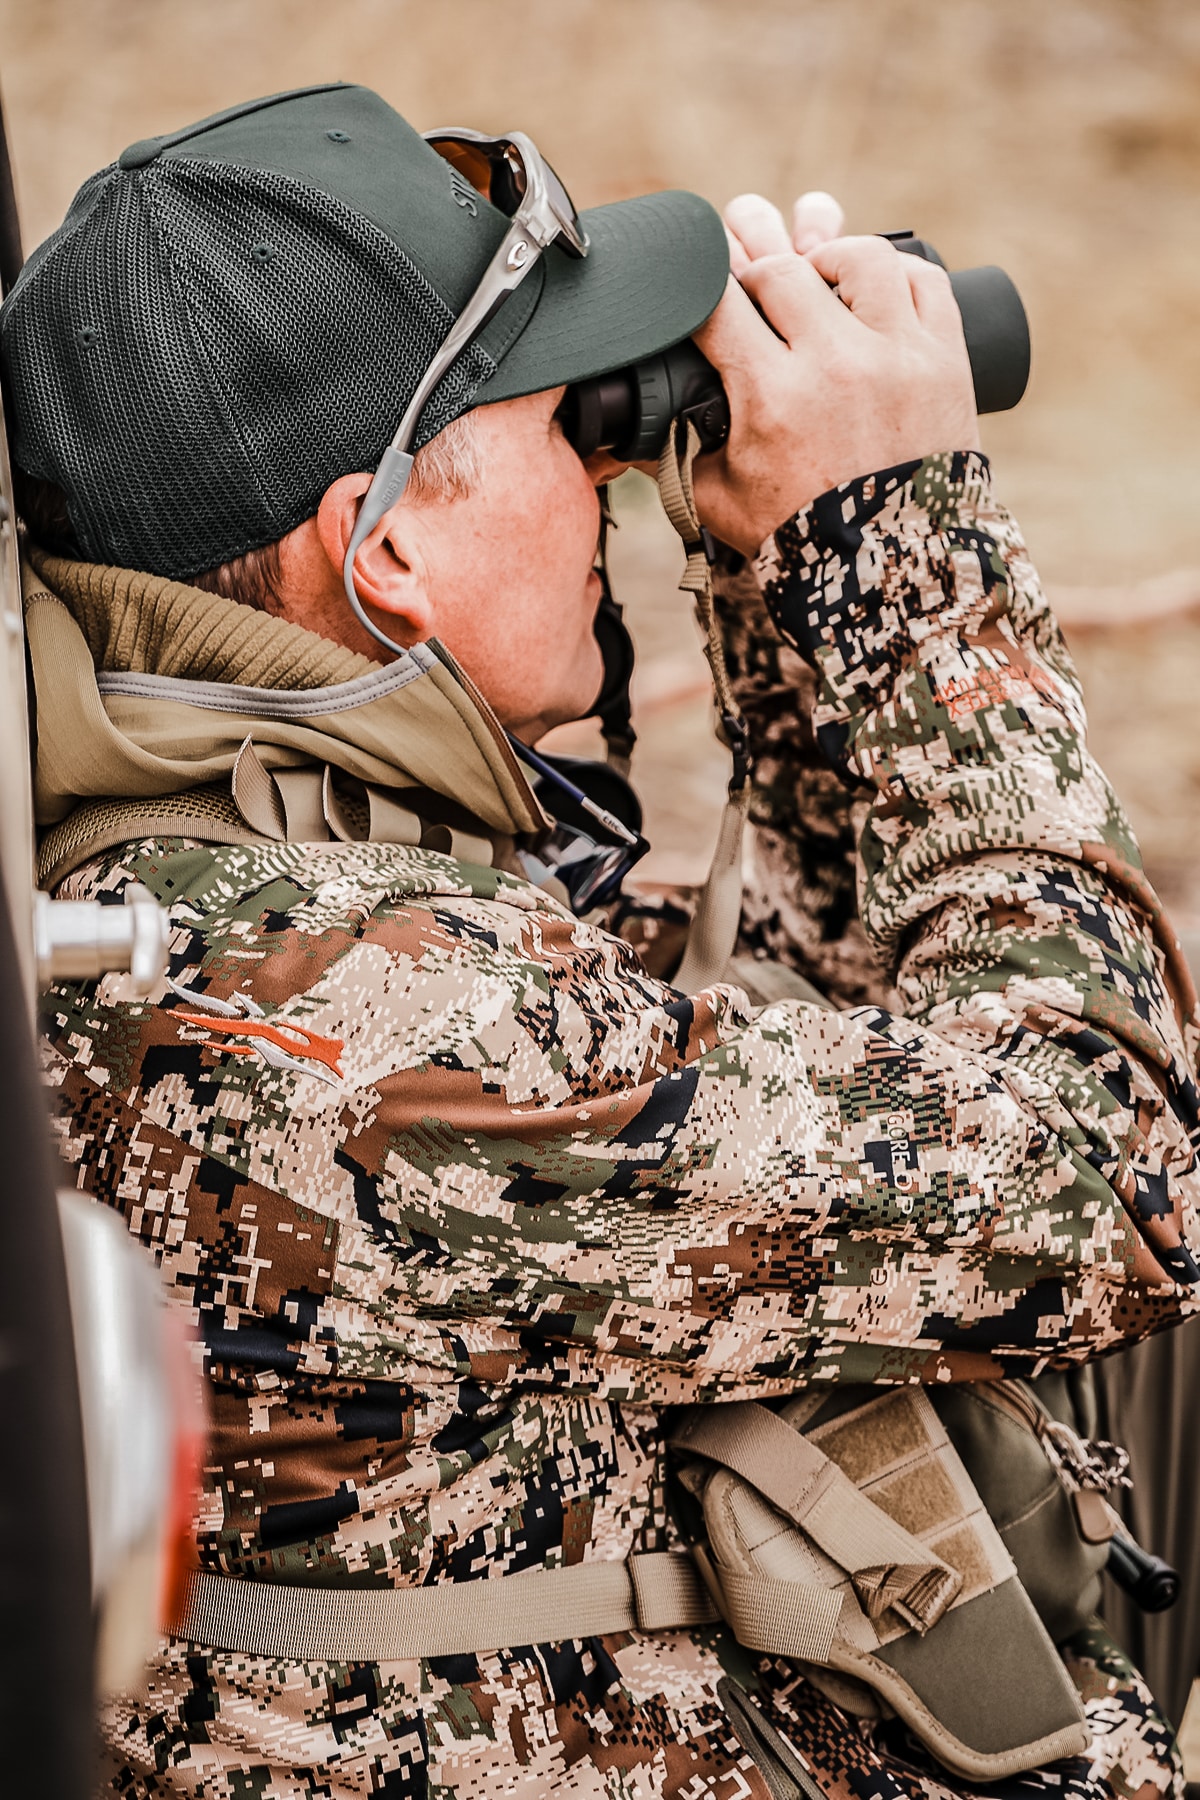
Animals are made to blend into their surroundings, to an extent. Their fur, although mostly solid colors, helps them hide from predators and hunters alike. But it doesn’t matter how good camouflage is when an animal is moving, so that’s the first thing to look for.
If possible, glass when animals are most active: the first and last hours of daylight. In the morning, you can spot an animal and watch it tuck into its shaded hideaway for the day or leave its bed and move to its favorite food source.
During a grid search, if I think there’s an animal in a particular spot but I can’t quite figure it out, I will stare intently into the glass and wait to see an ear or tail flick or the animal to move to stay out of the midday sun. Movement is one of the easiest things for our eyes to notice.
If you can’t pick up on movement, look for anything that stands out against the background. An animal’s lighter-colored rump is one of the easiest things to spot, because it usually stands out against browns and greens. Likewise, picking out brown animals is much easier if there’s snow on the ground.
Next, move on to scanning for antlers and ears. Ungulates move their ears a lot and their shape isn’t often found in nature. Likewise, there aren’t many things in nature that look like antlers except antlers. If I think I see some tines sticking out from behind a bush, but I’m unsure, I’ll watch them for a period of time, looking for them to move.
The Final Test
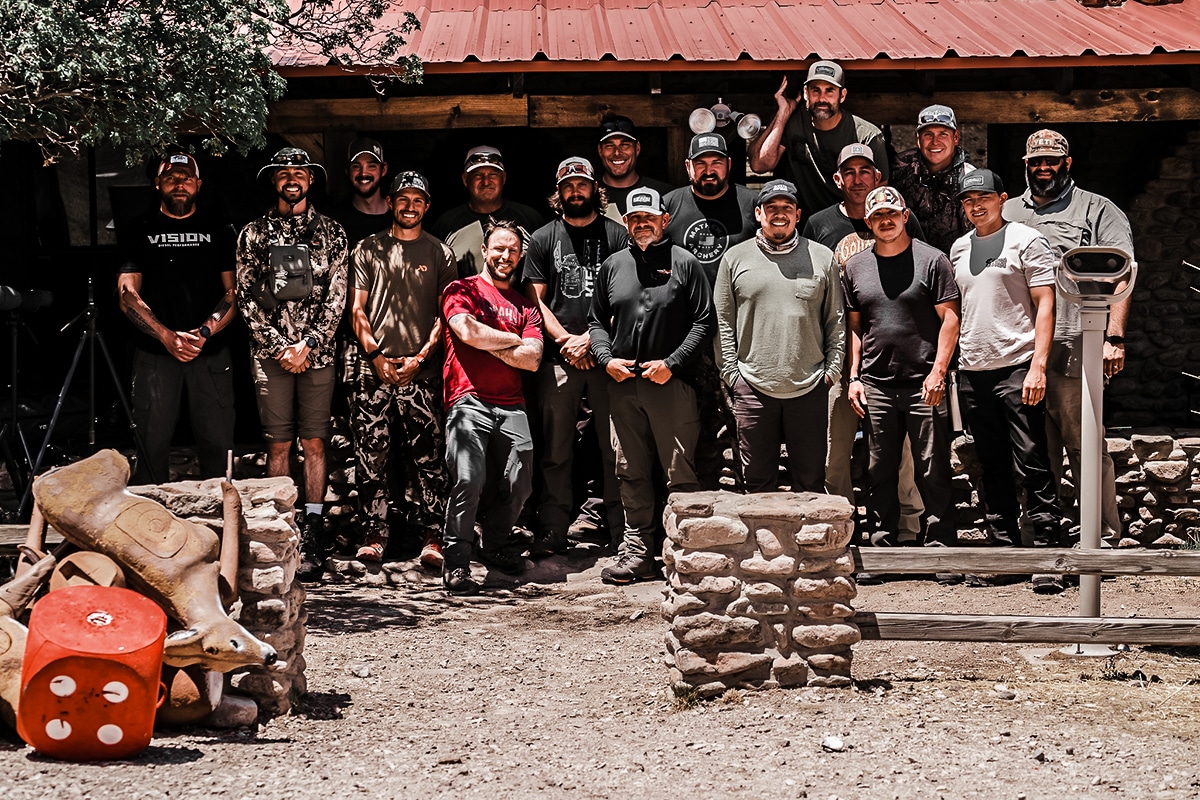
During the camp, the instructors evaluated the students while they were performing each practical exercise and then returned to the classroom to further explain topics the students weren’t doing well on based on the evaluations. For each event, the student who did the best won a hefty prize, including bows, arrows, Yeti products, and high-quality binoculars.
The culminating event of the camp was a graded stalk to an animal that the students had glassed earlier in the course. Master guide Campbell stayed at the base on the glass to flag the students into the animal. The students had to make a 500-yard stalk and shoot the 3D target with a bow. Snyder accompanied each student, grading their route, technique, and final firing position.
If you’re interested in attending one of these camps in the future, keep an eye on Korbin’s Archery and Kifaru International’s websites.
READ NEXT – Elk Hunting Gear: A Complete Guide to Quality Kit




Comments