When the first shot was fired from a bamboo tube in China sometime in the 10th century, it’s safe to assume that someone watching thought, “Look at that boot. I can shoot farther than him.” And thus, long-range shooting was born. That’s how I imagine it happening, anyway. Some things never change. More and more shooters are looking at Precision Rifle Series matches, styled like golf with guns, and thinking that they look like a whole lot of fun — plus, there’s all kinds of long range shooting gear to buy.
Count me among them. Long-range shooting is all about discipline, attention to detail, and pushing personal boundaries. And you get to shoot stuff instead of whack a little ball with a club, which is a nice perk. I decided to find out what it takes to get involved in this growing sport, so anyone reading this with the same curiosity I had will know what they’re getting into.
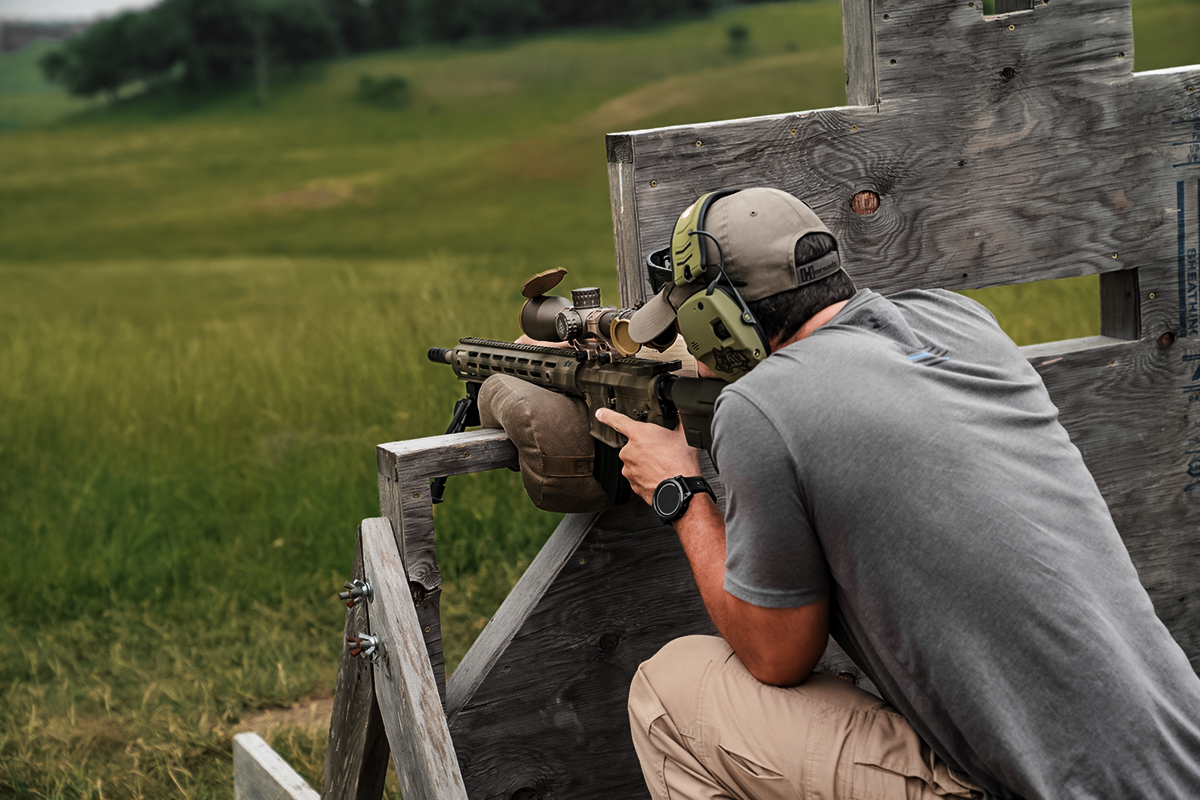
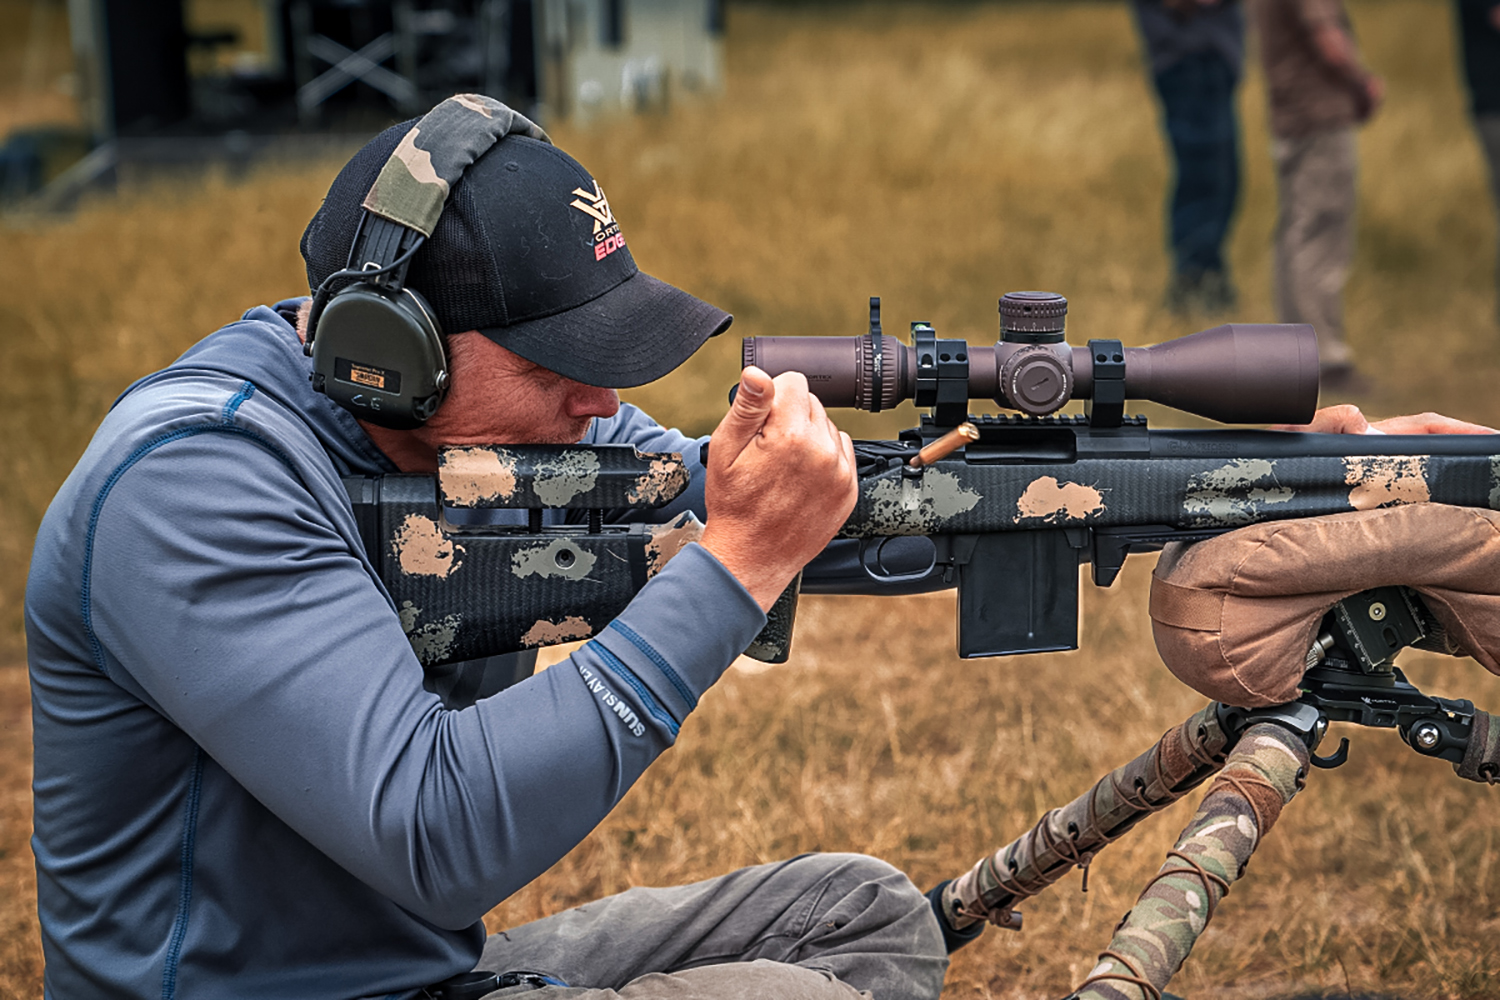
Let me be your guide (read: guinea pig) on this journey. I set out to strike a balance between cost and performance with equipment that can do everything long-range shooting demands without spending more than is necessary, then put it to the test during a long-range shooting course at Vortex Edge.
Here’s the gear I used, why I chose it, and how well it performed.
RELATED – The Black Powder Rifle: The Story of the First Precision Firearms
Author’s Rifle:
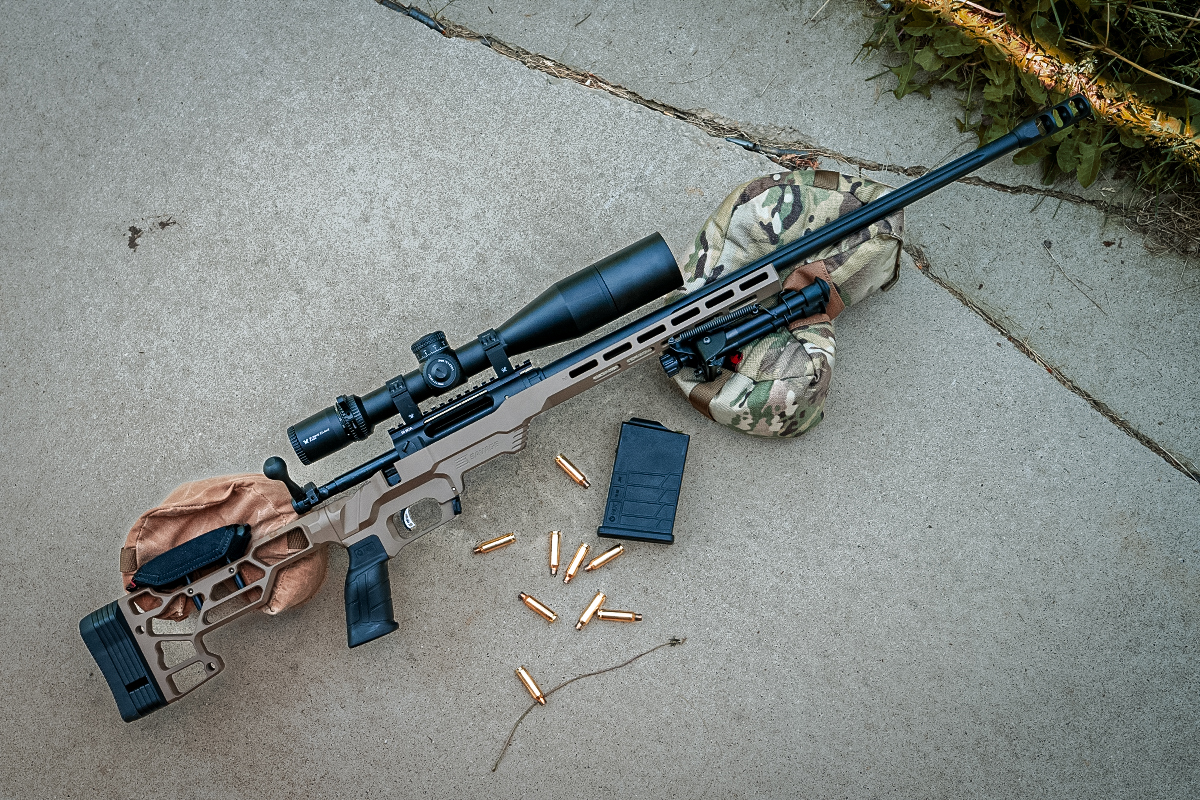
Savage 110 Precision in 6.5 Creedmoor
Yes, I know Carlos Hathcock dropped bad guys left and right with a Winchester Model 70, an 8x scope, and a pocket full of .30-06, but I’m not him, and neither are you. While some modern hunting rifles have the potential to engage targets at long range, they can’t do it more than once or twice without overheating their relatively light, thin barrels and sending stray rounds all over god’s green earth.
To get serious about long-range shooting, you basically have two choices: a traditional-style rifle, such as the McMillan TAC-308, or a chassis gun, such as the Savage 110 Precision. Either way, the best long-range rifles come with a thick, free-floating barrel, a crisp trigger, a smooth action, and the ability to adjust the length of pull and comb height so you can get a personalized fit — this is extremely important for repeatable accuracy.
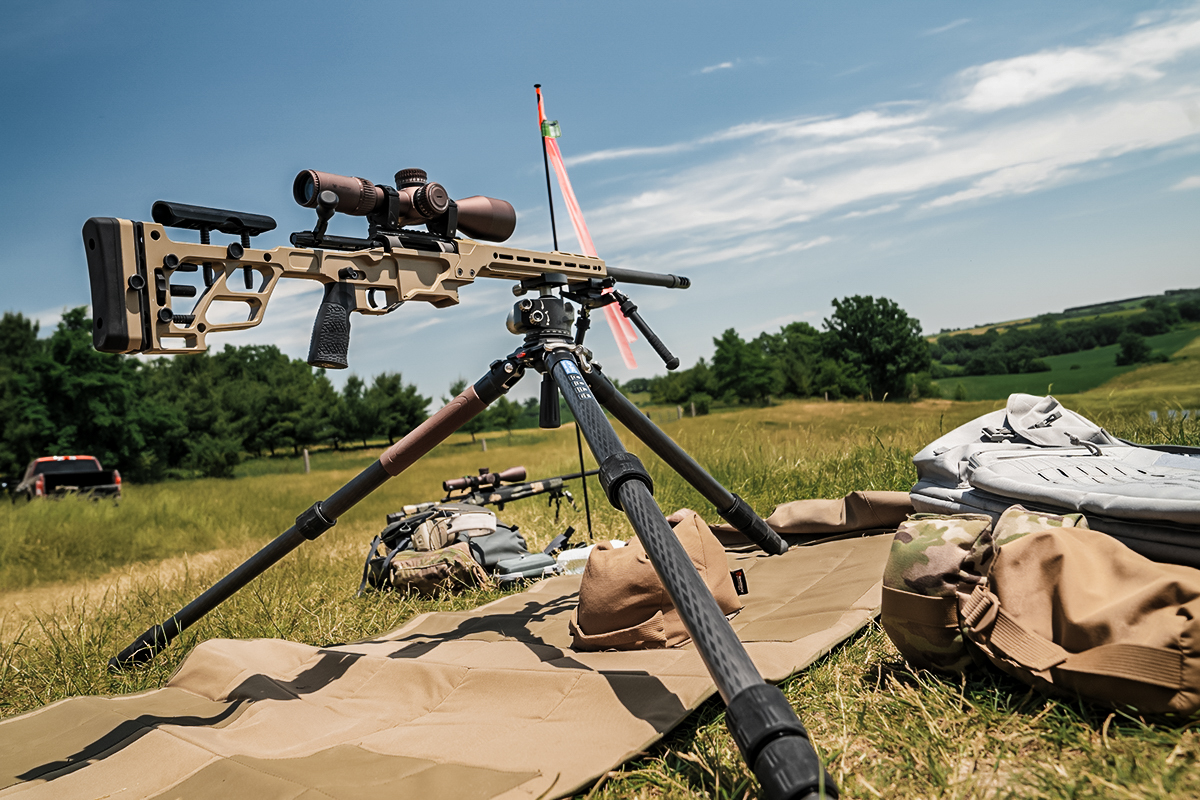
I picked up a Savage 110 Precision primarily for its famously accurate barrel and proven action but also because it’s so damn customizable. The second-generation MDT LSS XL chassis has M-LOK mounting points, an adjustable comb height, and an adjustable length of pull; you can tune the AccuTrigger from 4 pounds down to 1.5 pounds.
The 20-MOA rail gives your scope more range of adjustment at long distances. If and when you do shoot out the barrel, or if you want to upgrade it, replacing it is easy, and there are lots of options, ranging from OEM to carbon-fiber barrels from Proof Research. Considering that you can buy a Savage 110 Precision for less than $1,500, it’s a trainload of rifle for the money.
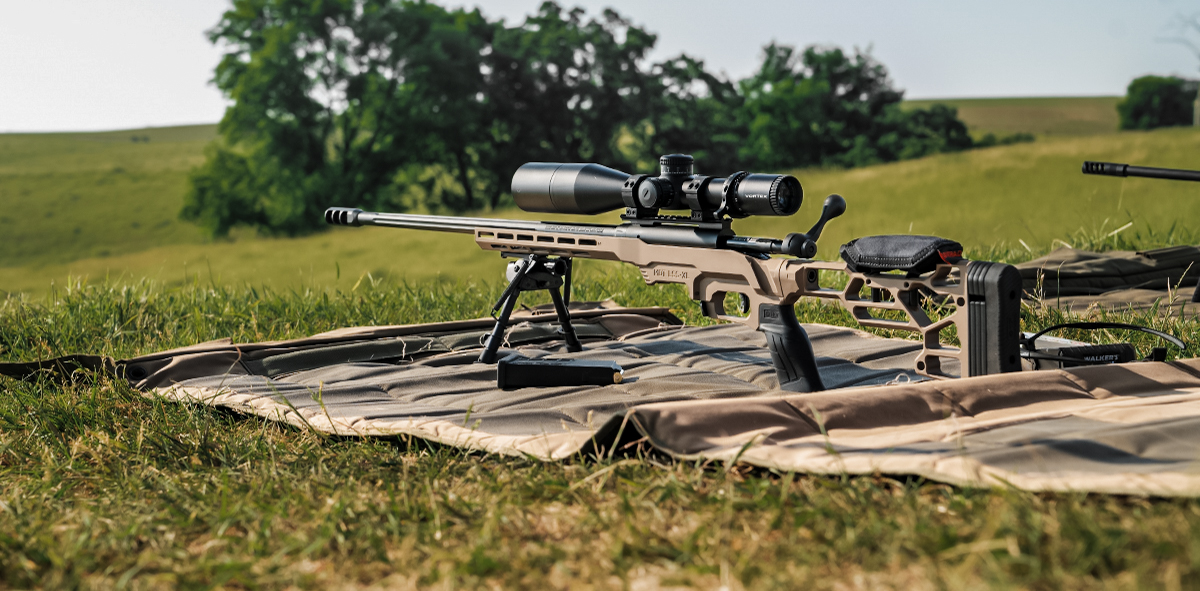
But then you have to decide on the chambering. There are several cartridges that can accurately engage targets at 1,000 yards and beyond. At the affordable end (both in ammunition price and barrel life) is the tried-and-true .308 Win. It’s a proven round, but it requires quite a bit of skill to use effectively thanks to its rainbow trajectory.
On the other end of the spectrum are cartridges like the .338 Lapua that fly flat and far with massive energy retention (recoil and ammunition prices are massive, too). In the middle is the 6.5 Creedmoor — my choice. I went with the almost too popular cartridge because it’s extremely accurate and common enough to enjoy lots of options for factory match loads and reloading support.
RELATED – The Bolt Action Rifle: A Massive and Enduring Leap for Gun Tech
Author’s Scope:
Vortex Strike Eagle 5–25×56 FFP
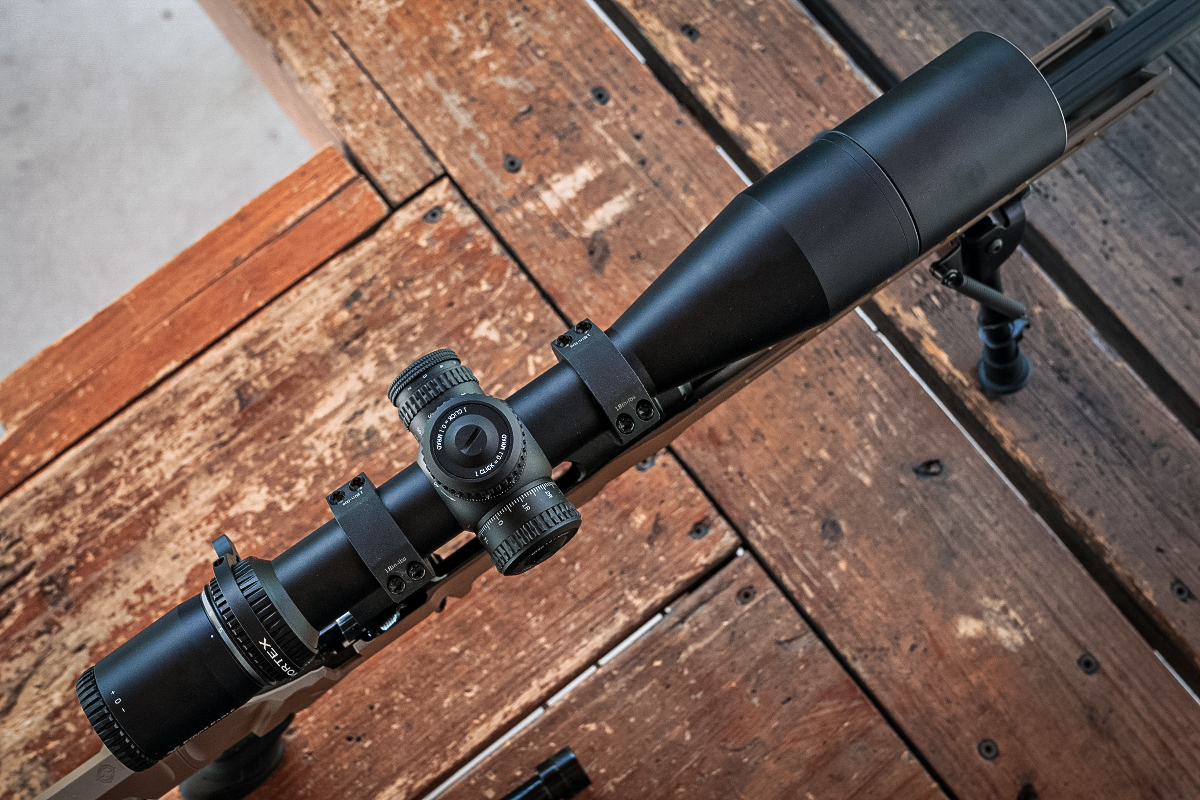
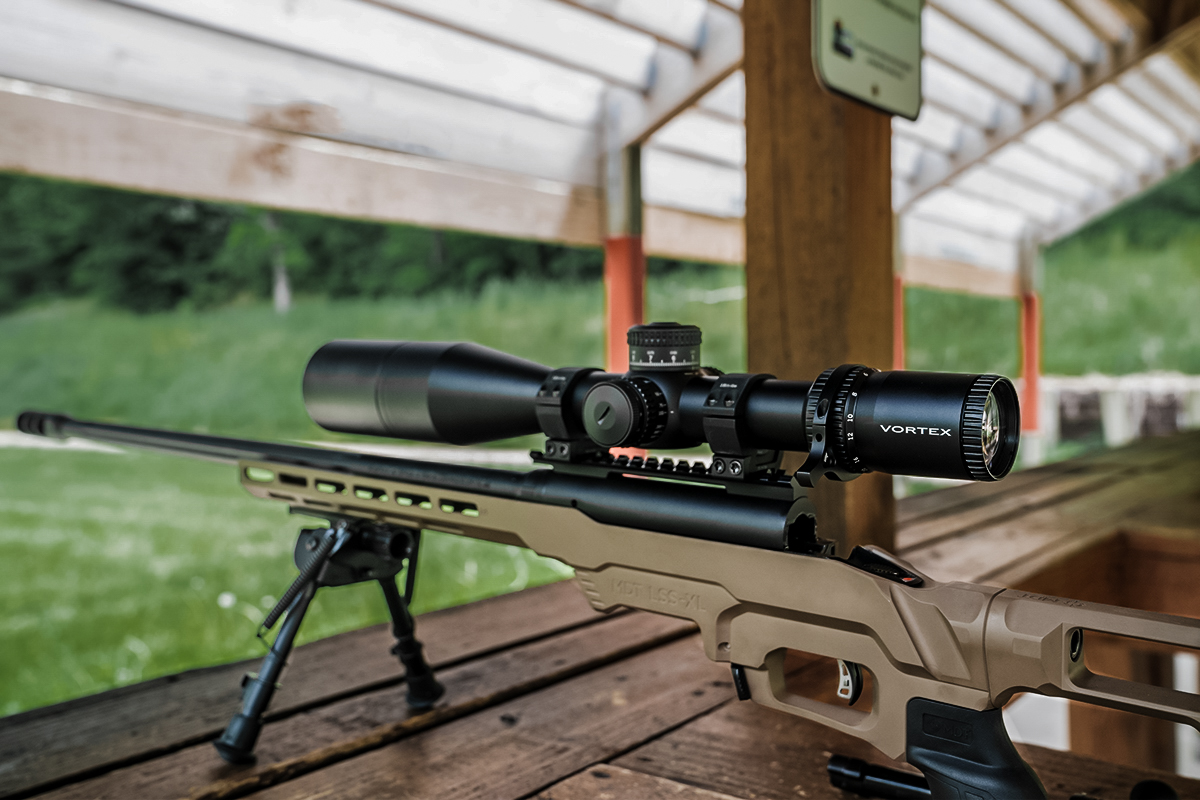
I topped the 110 Precision with a Vortex Strike Eagle 5–25×56 FFP mounted with 34mm Vortex rings. This scope, which retails for $800, is definitely an entry-level optic in the world of long-range shooting, and most shooters spend a hell of a lot more on their glass, but it has all the features you need to make precise shots out to 1,000 yards.
The Strike Eagle 5–25×56 FFP comes with exposed, locking windage and elevation 0turrets, which are key to making quick, precise adjustments on the fly. It also has big, high-contrast numbers and well-defined clicks, which are also crucial.
The illuminated EBR-7C reticle is etched onto the first focal plane, meaning that it changes size with changes in magnification so the increments are always correct. Vortex offers MRAD (milliradian) and MOA (minute of angle) options — my test unit was in MRAD.
Think of MRAD (sometimes called “mils”) and MOA like centimeters and inches. Neither is inherently better or worse, and you’ll have to put in the work to establish quality DOPE (data on previous engagements) regardless of which one you choose. If you’re already versed in one system, there’s probably no reason to change unless you want to be more adaptable.
A third turret on the Strike Eagle controls the brightness of its illuminated reticle in 11 settings (plus off) and the parallax adjustment, which extends from 15 yards to infinity.
Brightness and clarity become increasingly important as you put more distance between your firing position and the target, so look for a scope with a big objective lens made from quality glass. Contrary to what you might have heard, tube diameter doesn’t correlate to brightness, but this scope’s 34-millimeter tube does allow for some extra travel when making turret adjustments.
RELATED – The Bullpup Doesn’t Deserve to Be in the Dog House
Long-Range Shooting Accessories
Long-range shooting requires a solid rifle/scope foundation, but that alone won’t cut it if you want to be competitive.
Rangefinder:
Vortex Razor HD 4000 GB
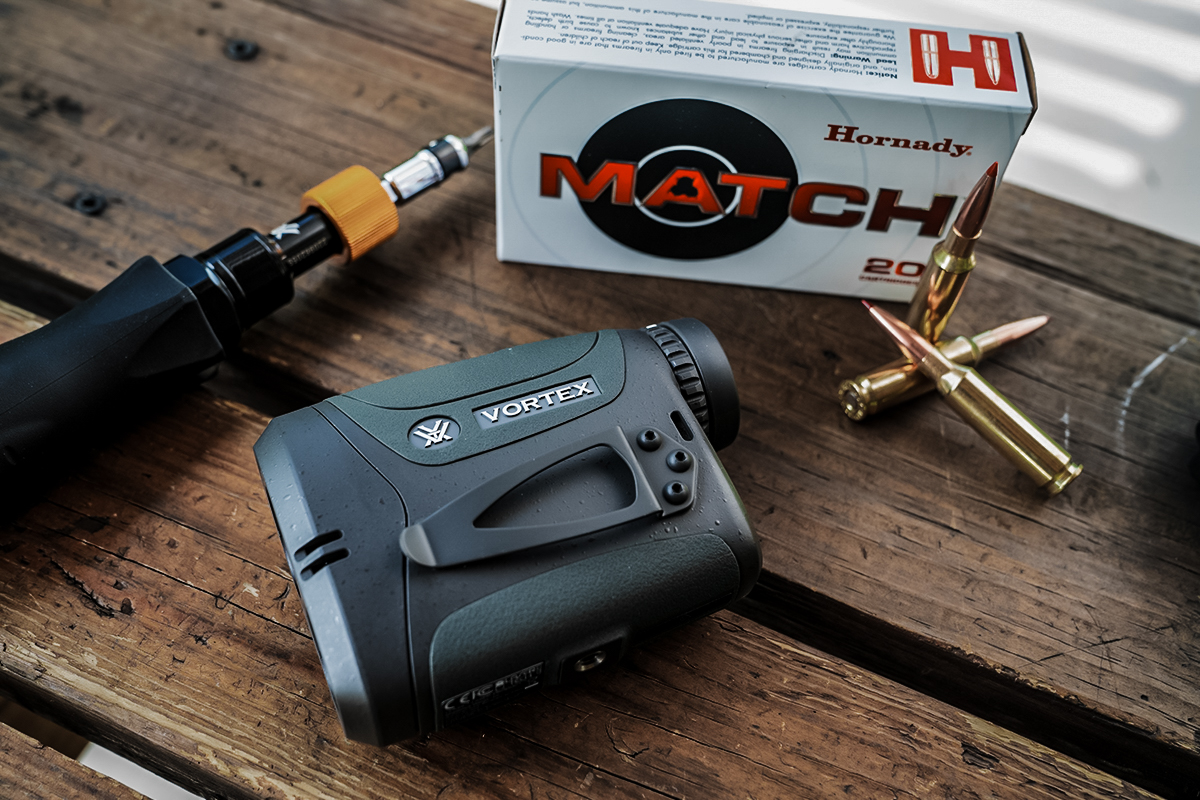
Since this long-range school was hosted by Vortex, I turned to the company’s new hotness for my rangefinder.
The Razor HD 4000 GB (available for $499.99) offers multiple ranging and targeting modes and provides ballistic solutions for three different rifle profiles in the display. It also pairs with the GeoBallistics app for more access to ballistic cards and editing control over specific ammunition loads. You can dig into all its capabilities in our initial review of the Vortex Razor HD 4000 GB.
Wind Meter:
Kestrel 5700 Elite
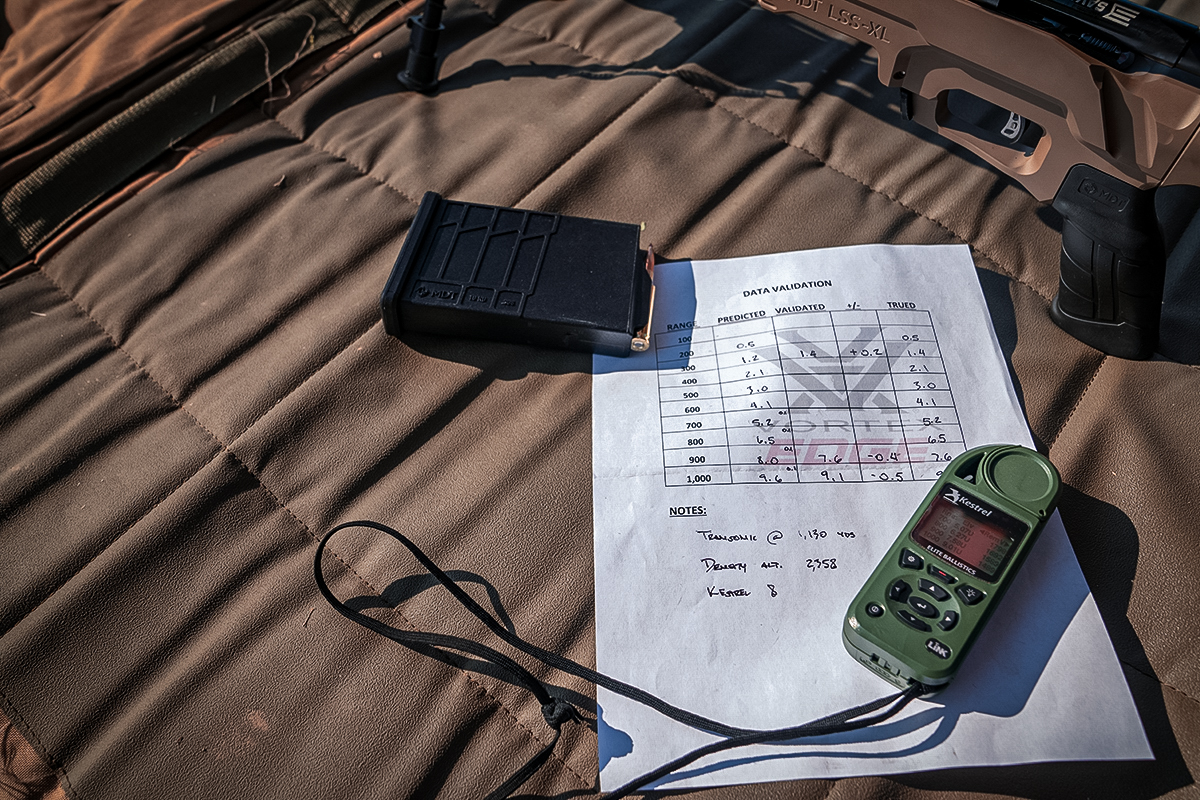
You can’t be precise if you can’t account for wind — plain and simple. Some shooters learn to read the wind by eye (and get damn good at it), but that takes a tremendous amount of skill. That should be your end goal, but you won’t get there without some help.
Vortex Edge provided each student with a Kestrel 5700 Elite for the duration of the three-day pipeline. It’s a pricey little gadget (you can buy one for $749), but it’s absolutely indispensable at the range. It collects the exact weather conditions at your location without the need for cellular service and produces range cards with intervals as small as 10 yards.
Another option is to identify weather conditions at your location based on nearby weather stations (airports are a great resource). I’ve had several accomplished competitive shooters tell me this method is a good starting point, but you’ll still need to make an individual wind call for each shot.
Stability Bags From Wiebad
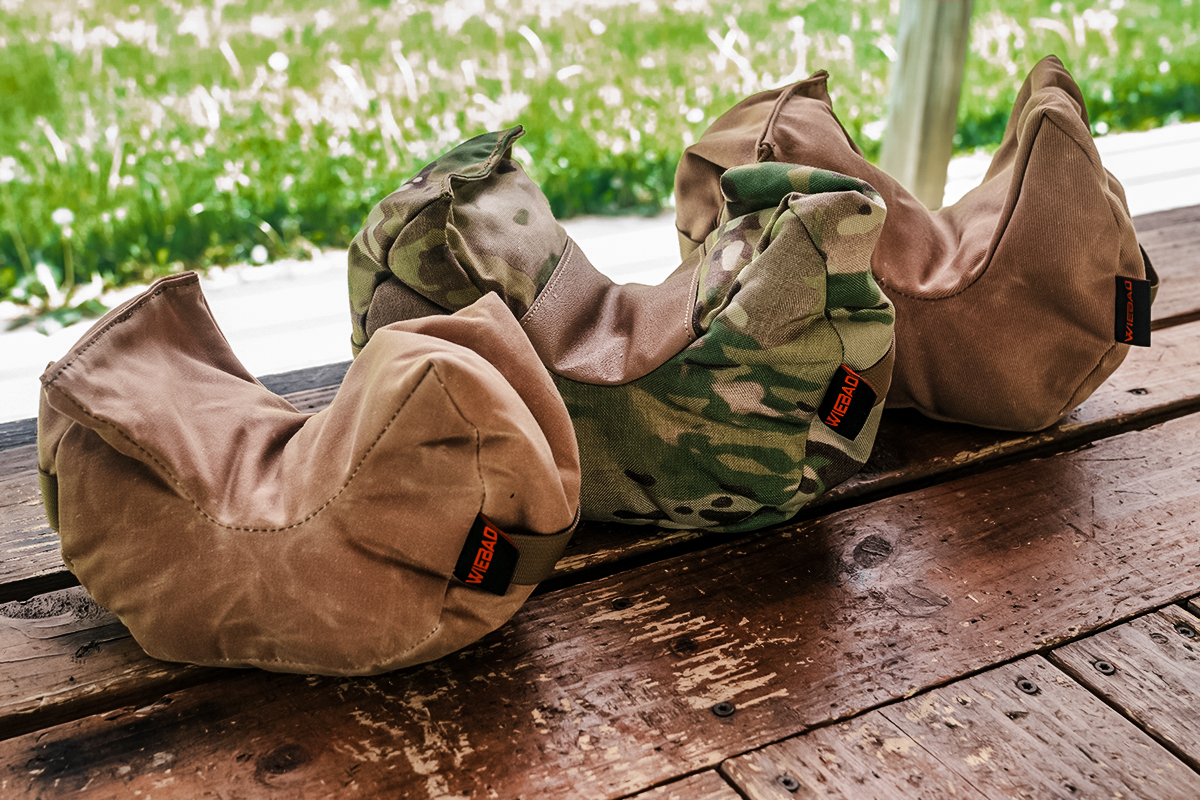
There are a bunch of companies that make good shooting bags, but I used bags from Wiebad for this course — most of the bags Vortex Edge had on hand were Wiebad, too.
Wiebad hooked me up with a DRC Fortune Cookie, a Whiskey Charlie Mini Fortune Cookie with the optional heavy sand fill, and a Whiskey Charlie MAX with 2 pounds of SpexLite fill, in addition to a Mini Stock Pad.
These bags prioritize versatility. The fortune cookie shape is useful as a rear bag, and it’s a great way to turn all kinds of barricades and rests into a stable shooting platform. Heavier is generally better for this kind of thing, but it’s nice to have options for different situations.
I had success with all three, but the Mini size with heavy fill really stole the show. I preferred its compact size for a rear bag, and it was still stable enough to get hits out to 500 yards on a tripod, metal gate, barricade, and tank trap. Going forward, I won’t step up to the firing line without it. The other two are great options for backcountry hunting trips, where weight is more of a factor.
Bipod:
Harris S-BRM-MLOK
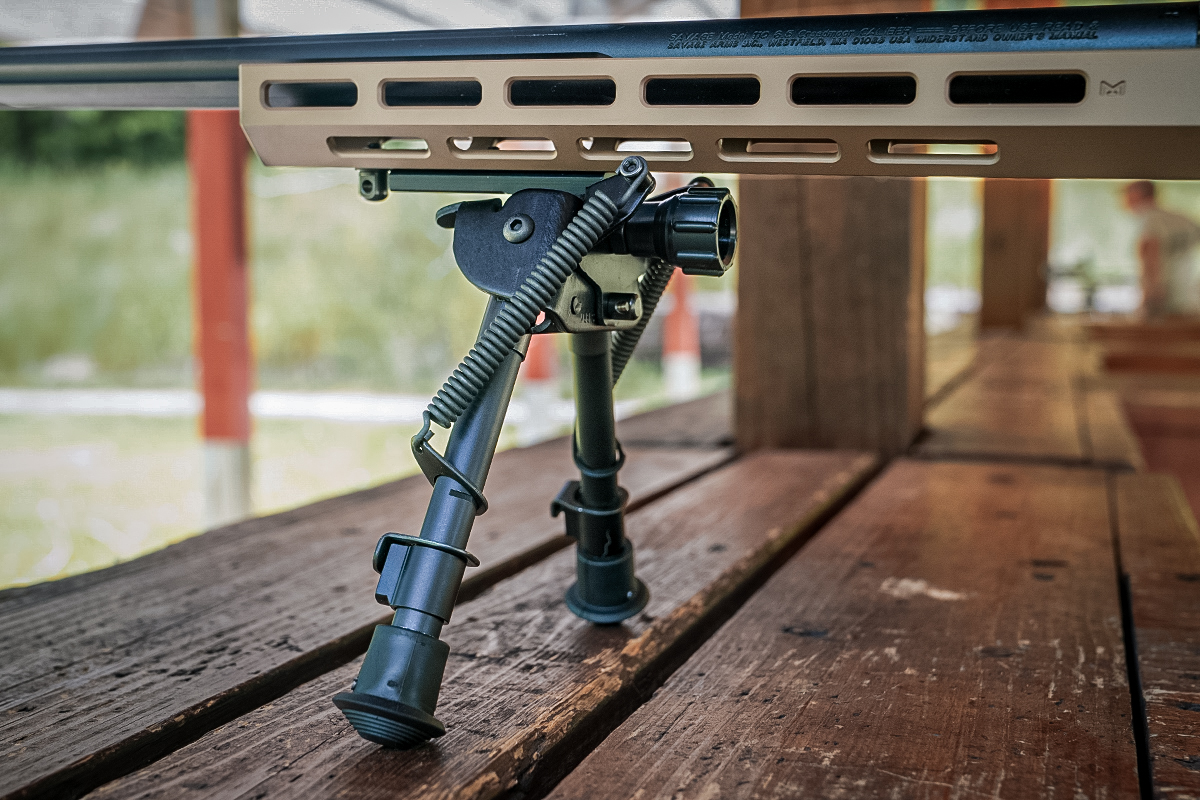
You’ll also need a rock-solid bipod. It’s essential. I used a Harris S-BRM-MLOK bipod with spring-loaded legs notched in 1-inch increments that extend from 6 to 9 inches. The base mounts to an M-LOK handguard (other bases are available) and swivels to compensate for uneven terrain.
Harris bipods aren’t cheap — my test unit sells for $148.25 — but they’re light, durable, stable, and fast to deploy and regarded as some of the best out there by people who know. It doesn’t matter if you’re shooting from a bench or the ground, a good bipod is always well worth the investment.
I saw shooters using a variety of bipod brands and models during this course, and I didn’t see anyone have issues with an all-metal model. The affordability of polymer models makes them tempting, but they’re not built for this kind of shooting.
Based on price, Harris is a solid option that’s tough and reliable without going nuts on your budget. I’m glad I got the shorter configuration and spent most of my time one notch from the lowest setting.
Ammunition:
Hornady ELD Match
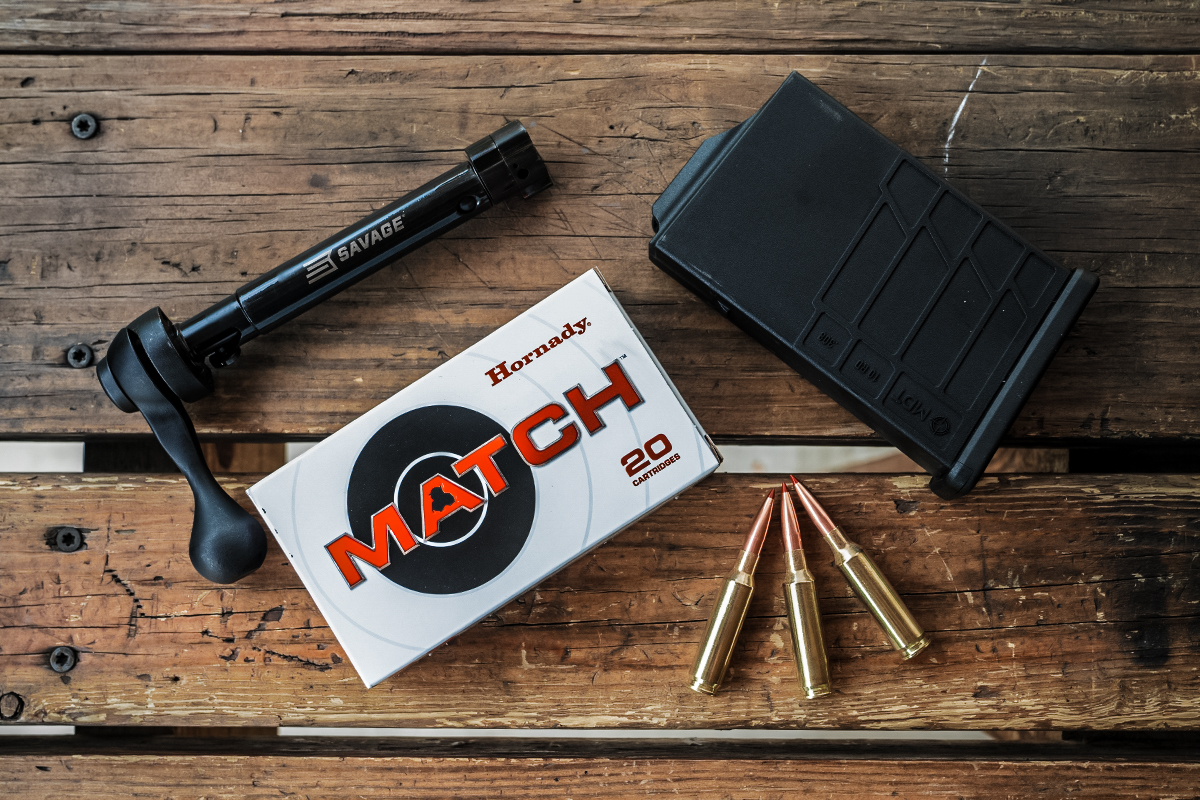
Ammunition is expensive, and I’m as guilty as anyone of buying the cheapest stuff I can find every once in a while. After all, if you’re running carbine drills at 50 yards or less, does it really matter what’s in your magazine as long as it works?
When it comes to long-range shooting, it matters. A lot. Aside from handloading and taking on a whole new obsession in pursuit of ballistic alchemy — which a LOT of serious long-range shooters certainly do for control and consistency of loads — the best you can do is to buy match-grade ammunition from a reputable manufacturer.
Forget about hunting loads and terminal effects — you just need a slippery bullet to fly as predictably as possible.
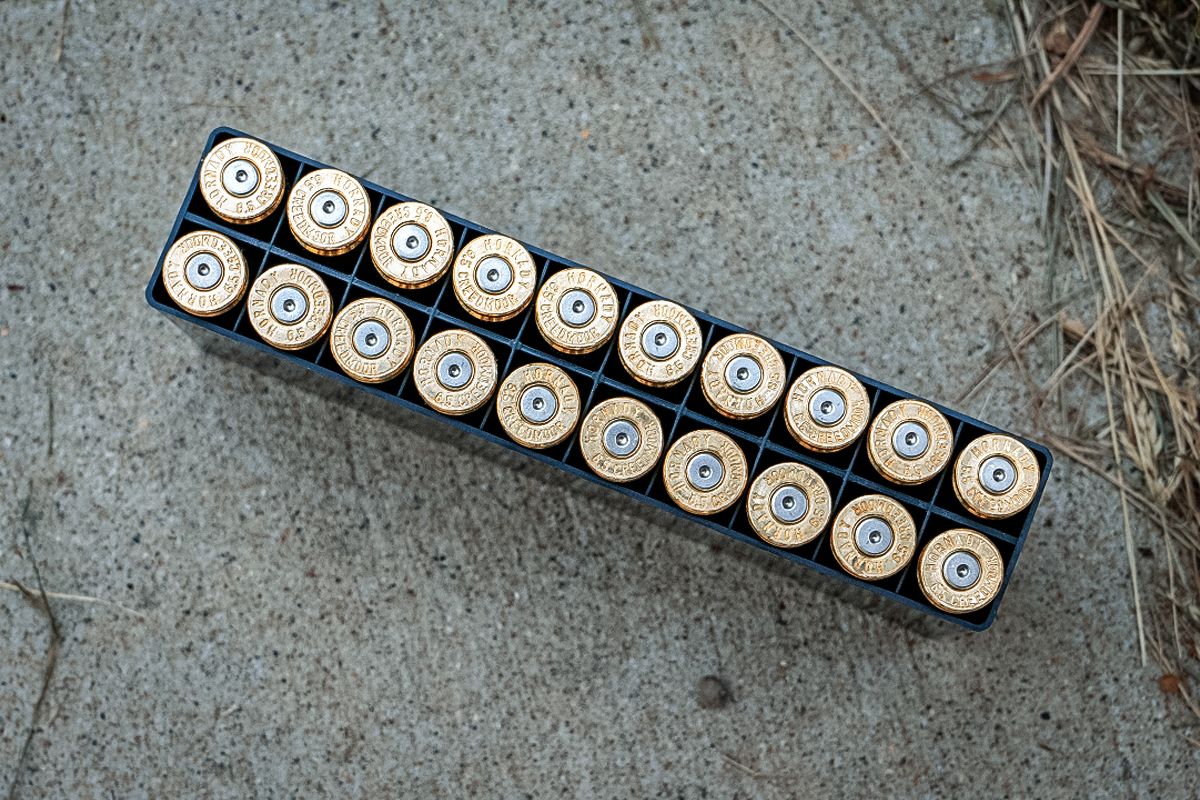
To give myself some hope of success, I picked up a batch of 140-grain Hornady ELD Match ammunition. Remember: You’ll need to establish zero with the same ammunition you plan on using at the range — preferably from the same manufacturer lot. Most competitive long-range shooters who don’t roll their own buy at least a case at a time of factory ammo to minimize the need to recalibrate their rifle and DOPE if one box of ammo happens to vary from another.
When we chronographed rifles on the range, I saw an average muzzle velocity of 2,631 feet per second, an extreme spread of 51 fps, and a standard deviation of 14.6 fps. These are respectable numbers, and they should improve as the barrel breaks in. Brand-new barrels will shoot a little slow and scattered (relative terms, folks) for about the first 200 rounds.
Range Bags and Cases
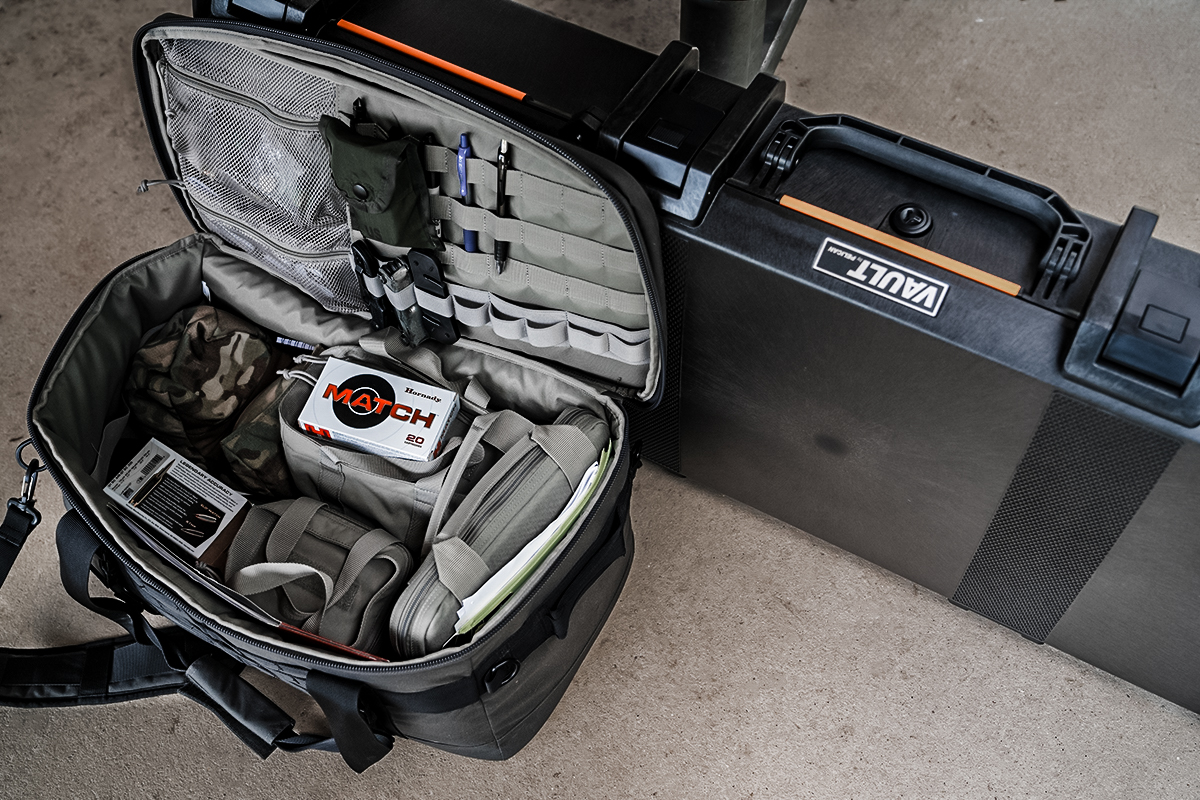
Most of this gear — along with ear pro, eye pro, tools, and a cleaning kit — went into my old 5.11 Range Master Duffel (it’s since been replaced by the Range Ready Trainer).
I opted for a $250 Pelican Vault V800 to protect the rifle and scope. It isn’t cheap, but it’s a good insurance policy when you’re putting a valuable precision instrument inside. If you’re lucky enough to travel for a PRS match or hunting trip, one of these (and a TSA-approved lock) will allow you to fly with your rifle and not worry about what condition it will be in when you open it up.
This case will protect your rifle and optic through practically anything, but it’s pretty heavy, as in you don’t want to be throwing it in and out of a vehicle more times than you have to.
If you’re not flying with your gun and prefer a soft case that’s easier to move around, check out the Eberlestock Sniper Sled or something similar.
RELATED – Sharps Rifle: The Original Long-Range Hunting Gun
Alternative Long Range Shooting Gear Setups
Dual Threat
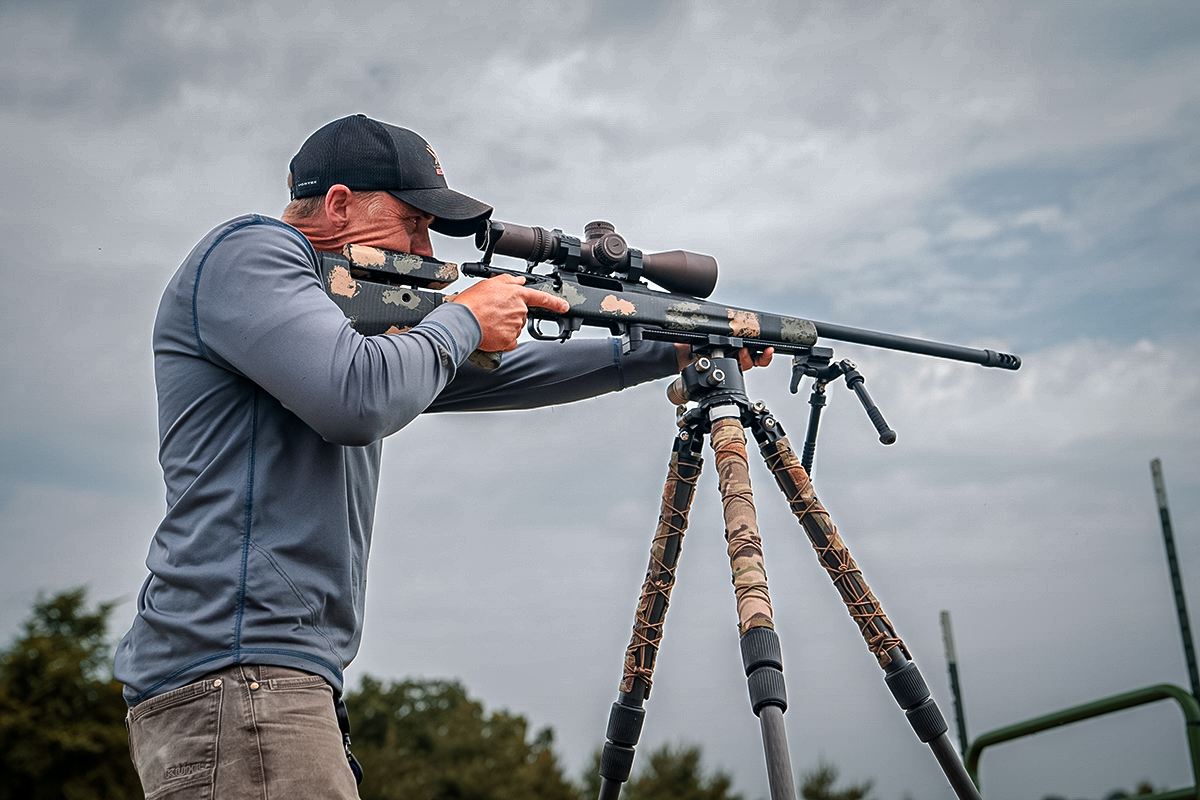
Can you hunt with a long-range precision rifle or go long with a hunting rifle? Sure, but you’re going to have to make some compromises either way. One rifle that can potentially bridge that gap is the Springfield Armory Waypoint 2020. It’s designed for Western hunts that require longer engagements but retains the lightweight traditional stock hunters are accustomed to.
With a starting MSRP north of $2,000, the Waypoint 2020 is a pricey hunting rifle and costs more than some precision rifles. It has the chops to shoot far, though, and it’s light enough (as slim as 6.6 pounds) to pack into the mountains. If you want to dabble in distance with your hunting rig, this is a fine way to do it.
Your mix of hunting and recreational long-range shooting will dictate what kind of scope you choose. Variable magnification range will depend on your intended use, but any hunting rifle needs a burly scope meant for harsh conditions, so keep that in mind — not all long-range optics are built to be dragged up a mountain on the side of your pack.
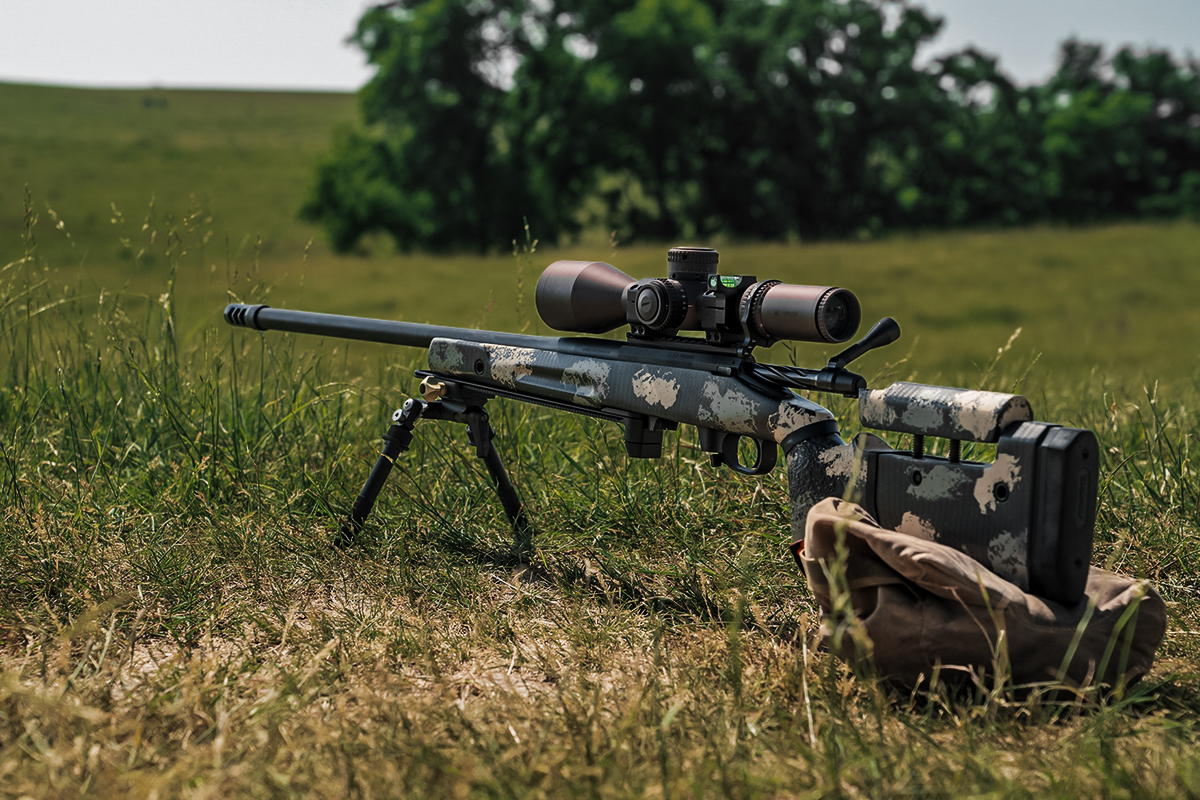
Precision AR
Shooting long range with a gas gun comes with a few challenges (better get good at preventing bump fire), but it can be done. I’ve seen people do some really nice shooting with a variety of AR configurations, but the best was a Seekins Precision SP10.
Seekins Precision builds the SP10 in .308, 6.5 Creedmoor, and 6 Creedmoor. There are cheaper ways to get into precision shooting than this $2,800 rifle, but I can’t deny that it works incredibly well and seems like a hoot.
Plan on spending a few grand on a scope for this gun because it can definitely take advantage of a high-quality optic.
AR Lookalike
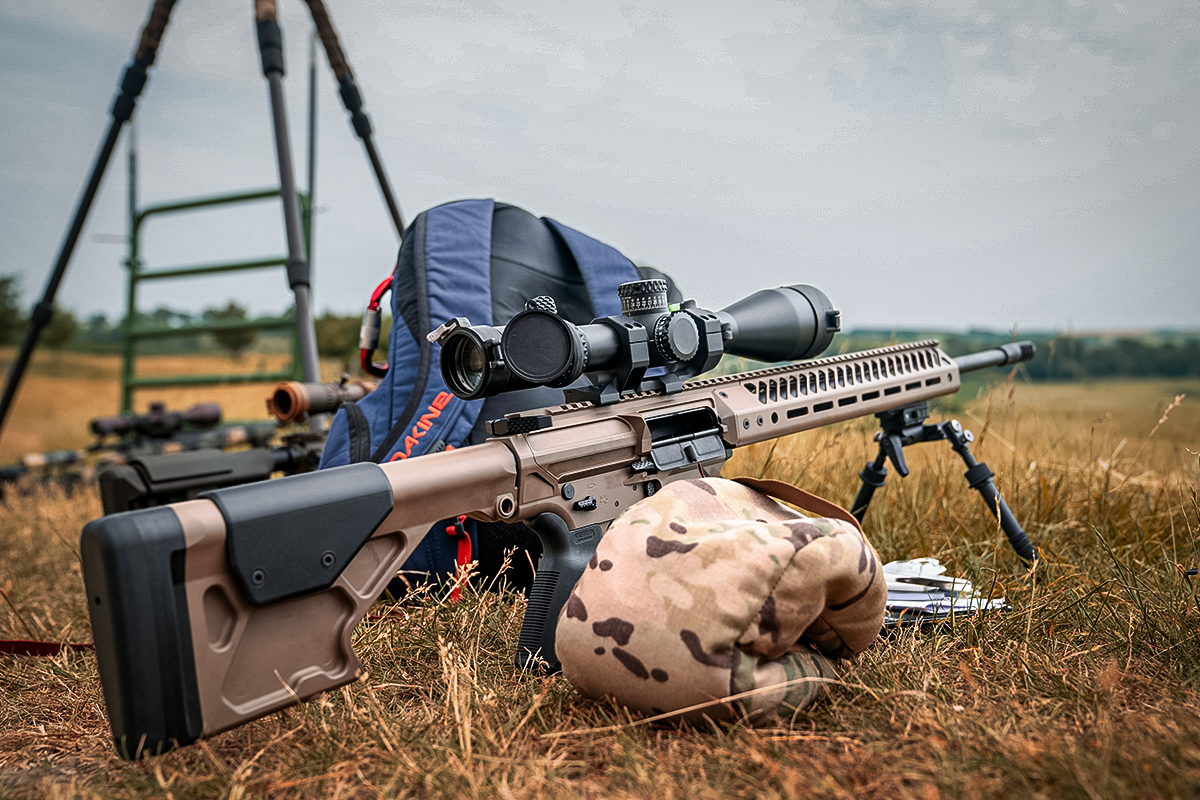
So many shooters have come up on the AR platform that it’s a natural home base. The bolt action Ruger Precision Rifle we reviewed offers many of the advantages of the Savage 110 Precision in an entry-level package that feels like an AR.
Its wraparound handguard provides more mounting options for things like a thermal optic or rangefinder. The 70-degree bolt throw is a little bit faster than the Savage’s 90-degree throw. Both rifles enjoy healthy aftermarket support and use common magazines.
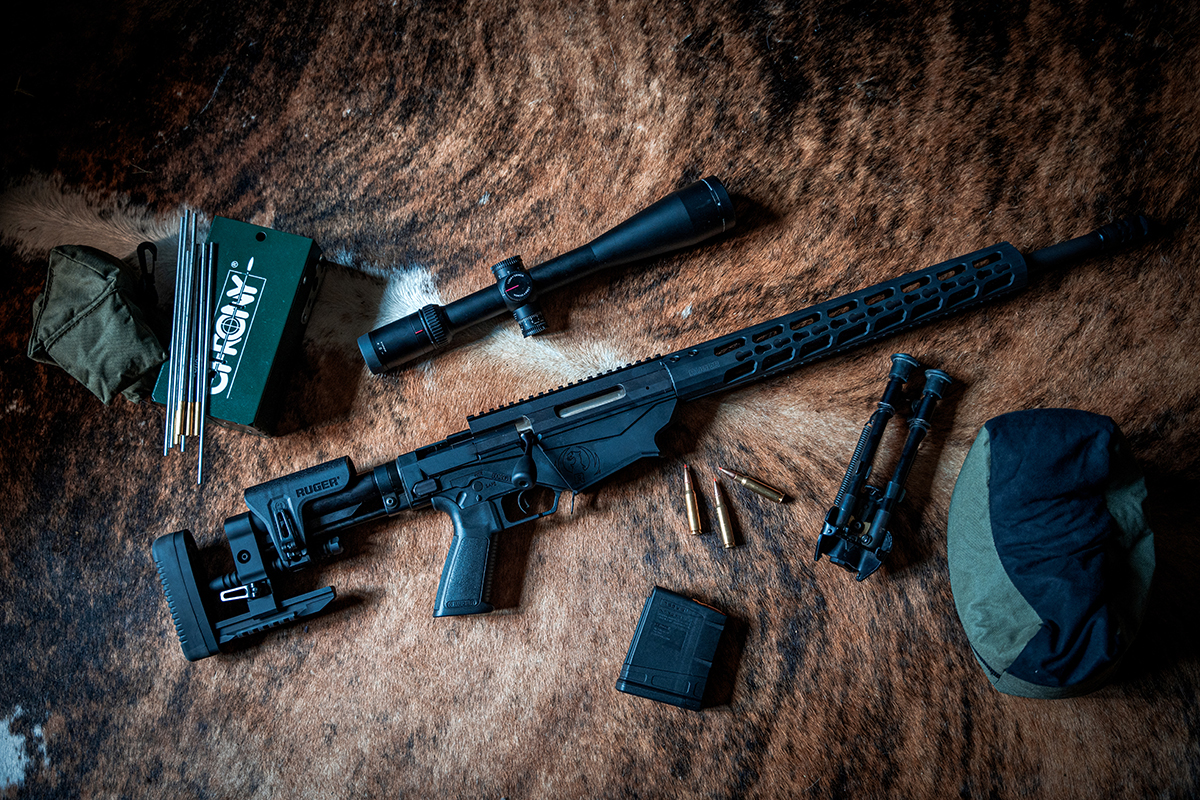
This rifle deserves a scope with at least 25x magnification on the upper end. Plan on spending some money to get a good one because there’s no point in buying a precision rifle just to cheap out on the glass. Kahles, Nightforce, Schmidt & Bender, and Vortex are all popular with PRS shooters.
Rimfire Wonder
Can you get into competitive precision shooting on a shoestring budget? Absolutely. Long-range rimfire competitions might be the best-kept secret in the shooting world. Check your ego at the door because a box of .22 LR can teach you a hell of a lot about marksmanship and barely put a dent in your bank account.
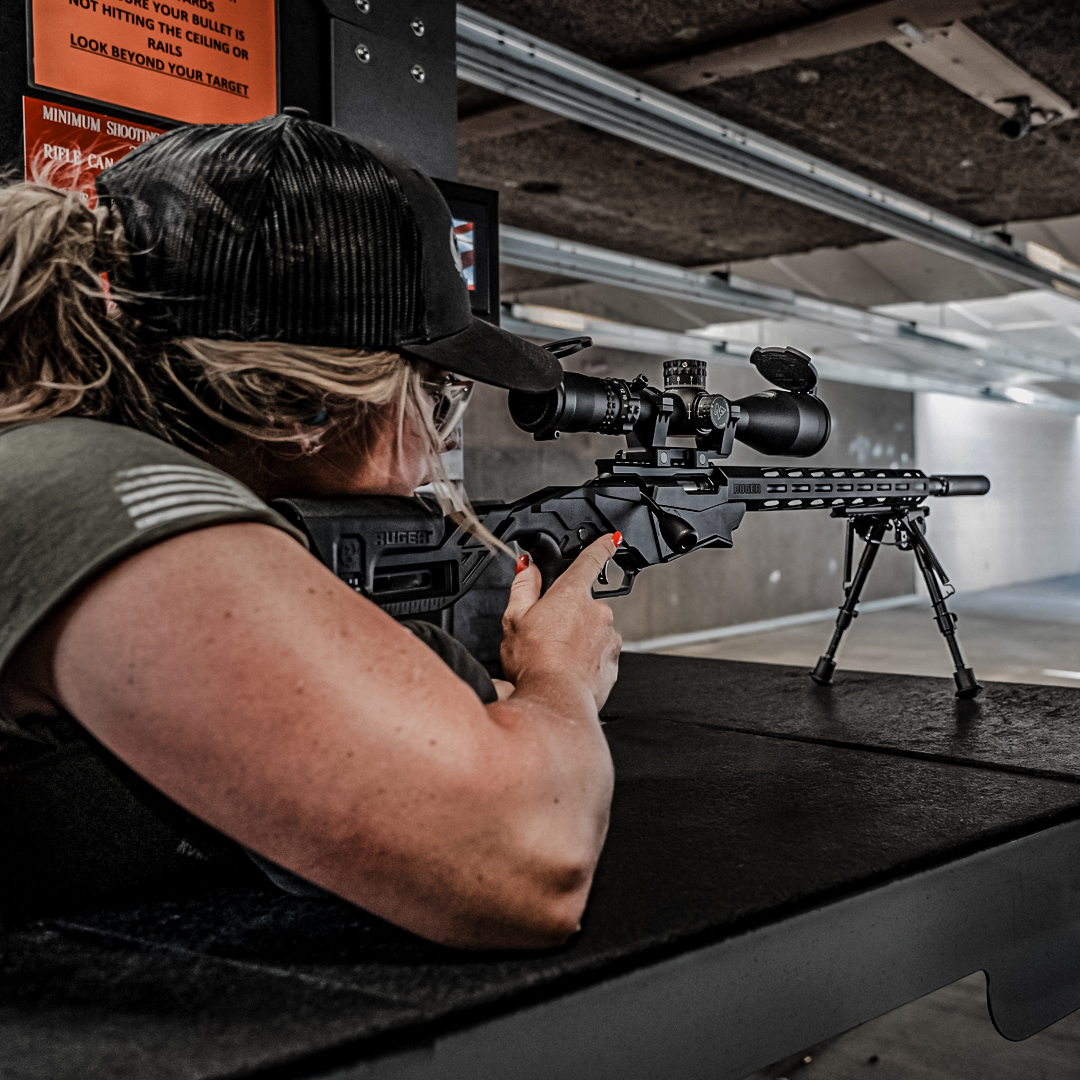
The Ruger Precision Rimfire rifle comes in .17 HMR, .22 LR, and .22 Mag. It has an externally adjustable trigger, length of pull, and comb height. The aluminum handguard provides plenty of real estate for mounting M-LOK accessories. Since you’ll almost certainly never shoot beyond 500 yards (300 is more likely), you can probably save some money on the scope you choose, too.
You can buy a Ruger Precision Rimfire for $519.99. Being able to outshoot your friend and his magnum hunting rifle with a rimfire? That’s priceless.
No-Expense-Spared Competition Rifle
If you have fat stacks of cash burning a hole in your pocket, you can buy a top-notch precision rifle off the shelf or spec out a custom rifle piece by piece.
Going all-out opens the door to things like an MPA Matrix Professional chassis, a Curtis Valor action, a TriggerTech trigger, a Proof Research barrel, a Steiner M7Xi IFS 4–28×56 scope, an MDT bipod, and all the equipment necessary to handload and chronograph your own ammunition.
That kind of rifle setup alone can easily cost $10,000 before you even get a wind meter, a rangefinder, a shooting mat, a stability bag, and basic shooting necessities.
Is this kind of thing necessary? Of course not. Would I buy it all if I won the lottery? Maybe, but I’d have to get a lot more creative about making excuses for why I miss.
RELATED – 338 Norma Magnum: Cheat Code for Snipers and Machine Guns
Mounting Your Scope
Mounting a scope on a standard rail is a very easy job, and I encourage you to do it yourself. The only tools I used to mount the Strike Eagle onto the 110 Precision were a Vortex torque wrench with the included T25 bit and a Wheeler reticle leveling system.
Installation Process
- Unload and clear the rifle, then secure it with a gun sled (you can also use your bipod and rear bag — just make sure to frequently verify that the rifle has not moved).
- Align the adjustable barrel-mounted level with the bubble level on the accessory rail.
- Install the ring bases, press them forward in the accessory rail to eliminate recoil lash, and torque the screws to spec.
- Place the scope into the rings and adjust fore and aft for proper eye relief.
- Remove the elevation turret cap and place the scope level on the inner turret, then rotate the scope to match the bubble level on the barrel.
- Place ring caps over the scope and gradually tighten all the screws a quarter-turn at a time — do not crank them all the way down individually.
- Using a crisscross pattern, tighten the screws to spec.
- Verify that all the screws are tight and the scope is level with the barrel.
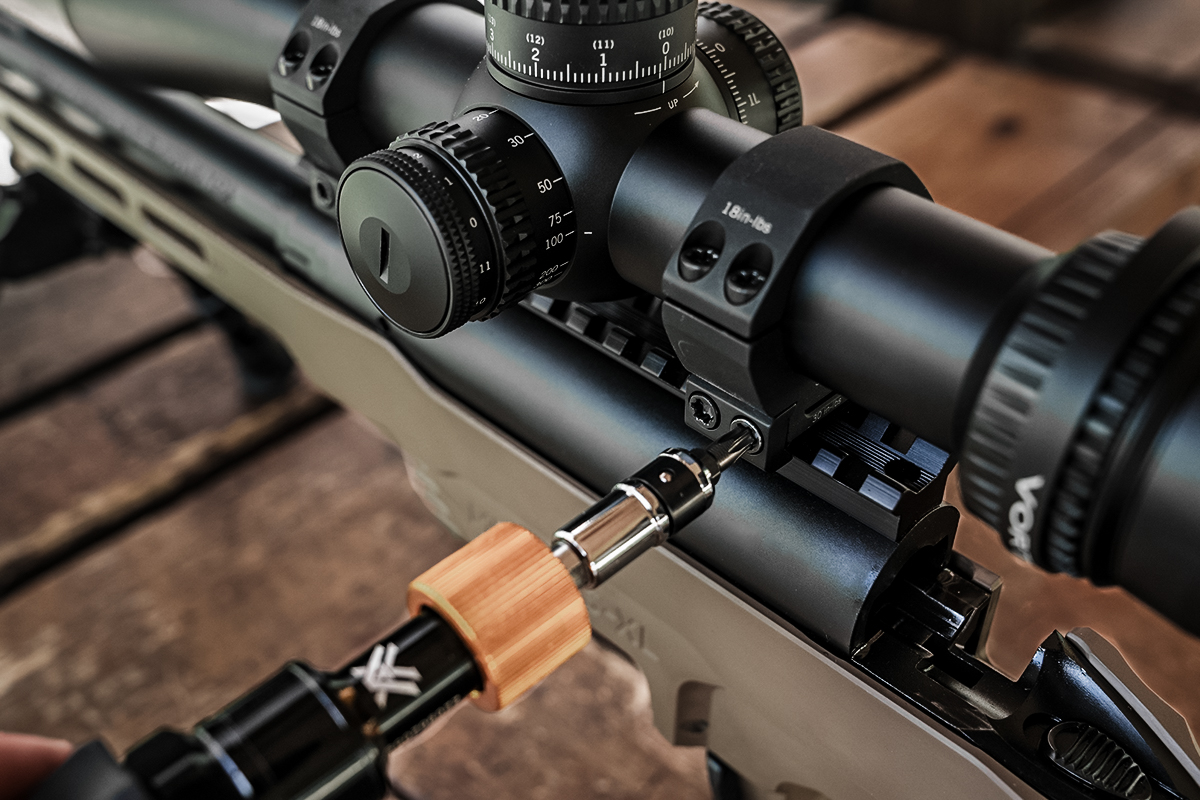
This process isn’t complicated or difficult, and it doesn’t require fancy tools — but if you screw it up, you can trash a scope before you ever fire a shot, and if it’s not mounted level, your adjustments on the range will be meaningless. Take your time and be gentle — no part of mounting an optic requires brute force.
Check your scope’s manual for torque specs and stay within the manufacturer’s recommendations. Don’t use thread-locking compound, which acts as a lubricant and will result in over-torquing. Don’t add torque because you think your rifle recoils harder than everyone else’s. A few extra seconds spent double-checking your work will pay off every time you press the trigger.
RELATED – Proof Research: Carbon Fiber Barrels for the Average Shooter
Perfecting Fit and Finish at the Range
If you’ve shelled out for a precision rifle, you owe it to yourself to get the most out of it.
Custom-Fit Your New Rifle
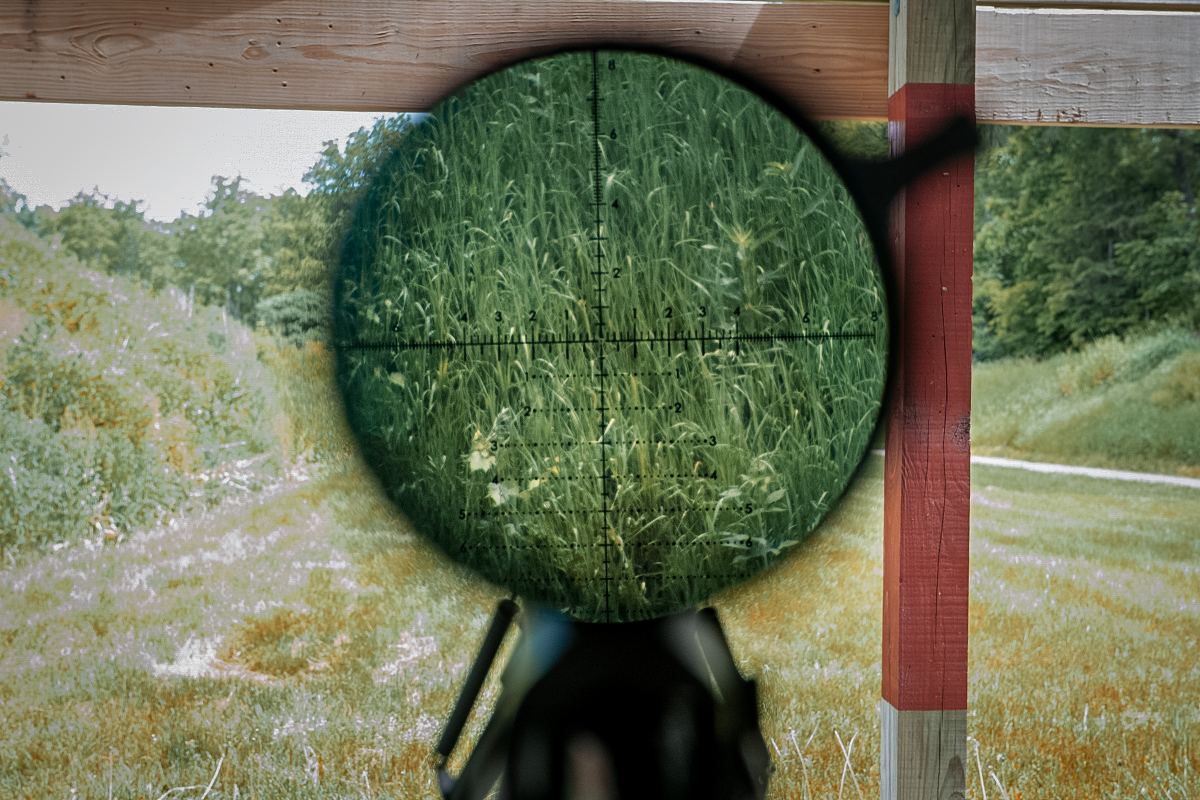
Before I ever chambered a round, I got behind the rifle in a variety of positions and checked how well I could see through the scope. Ideally, you’ll have a crisp, circular image. Any blurriness or directional shadow indicates an alignment issue between the ocular lens and your eye.
Adjust your scope’s parallax and focus rings to get the best possible view of your target and the reticle. Don’t stare too long — your brain will adjust to a blurry image within a few seconds and trick you into thinking it’s clear.
I shortened the 110 Precision’s length of pull by removing one spacer and raised the comb about half an inch to better fit my face. The Wiebad Mini Stock Pad is more of an advantage than I expected. The thin padding makes a noticeable difference in comfort, and the four attachment points keep it nice and snug.
Break In the Barrel
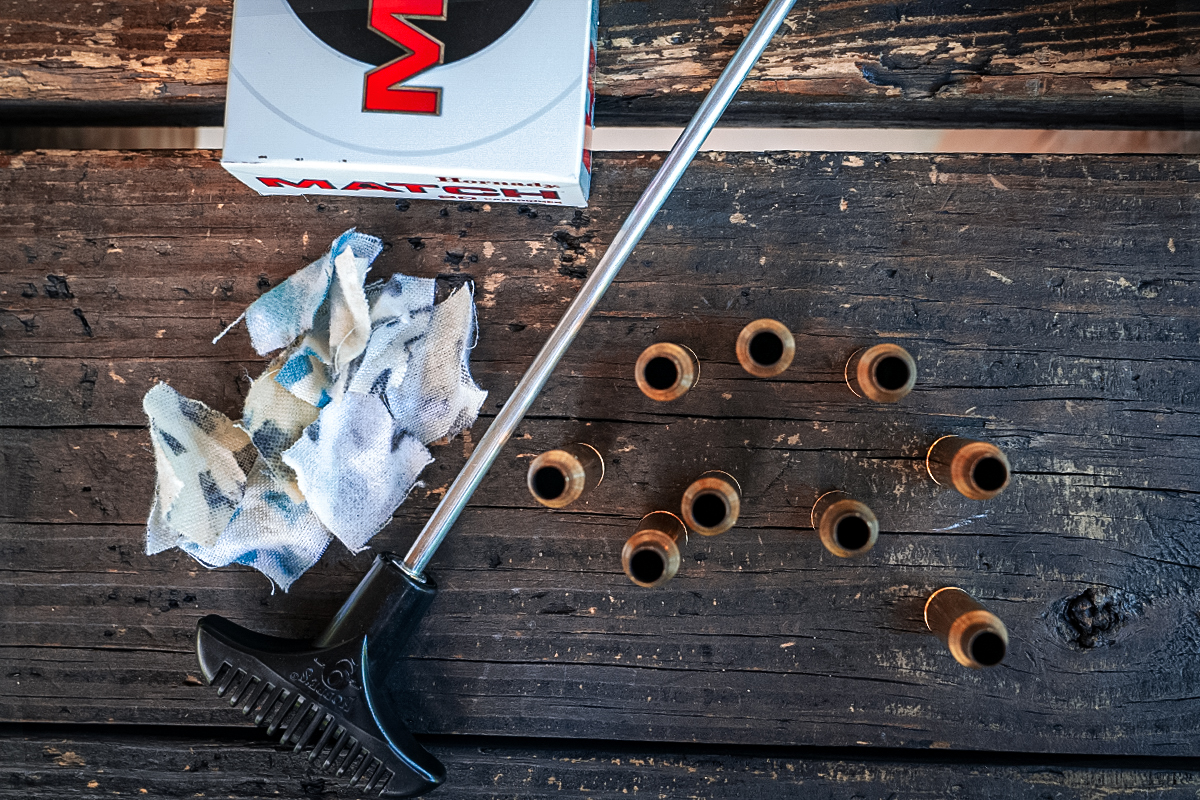
Barrel break-in is something that you probably haven’t experienced (if you’ve even heard of it) prior to exploring long-range shooting. It’s a lot like breaking in an engine in the sense that everyone seems to have a different opinion about the right way to do it.
With any firearm you buy, the bore might leave the factory with a mirror finish or enough grit to rival sandpaper. Usually, it doesn’t make enough of a difference for you to notice, but it definitely matters for long-range shooting. Essentially, your goal is to remove burrs and fill in pores until bullets get a smooth ride through the bore.
I ran a patch soaked with Hoppe’s Copper Solvent through the bore after each shot until they stopped coming out blue. Within five or six shots, my patches showed carbon but no telltale copper residue, indicating that the barrel was smooth and ready to provide optimal accuracy. Credit Savage for having it ready to go in short order; non-precision barrels might take more work. Finally, I flushed out the bore with basic Hoppe’s Cleaning Solvent and a few dry patches.
Establish Zero
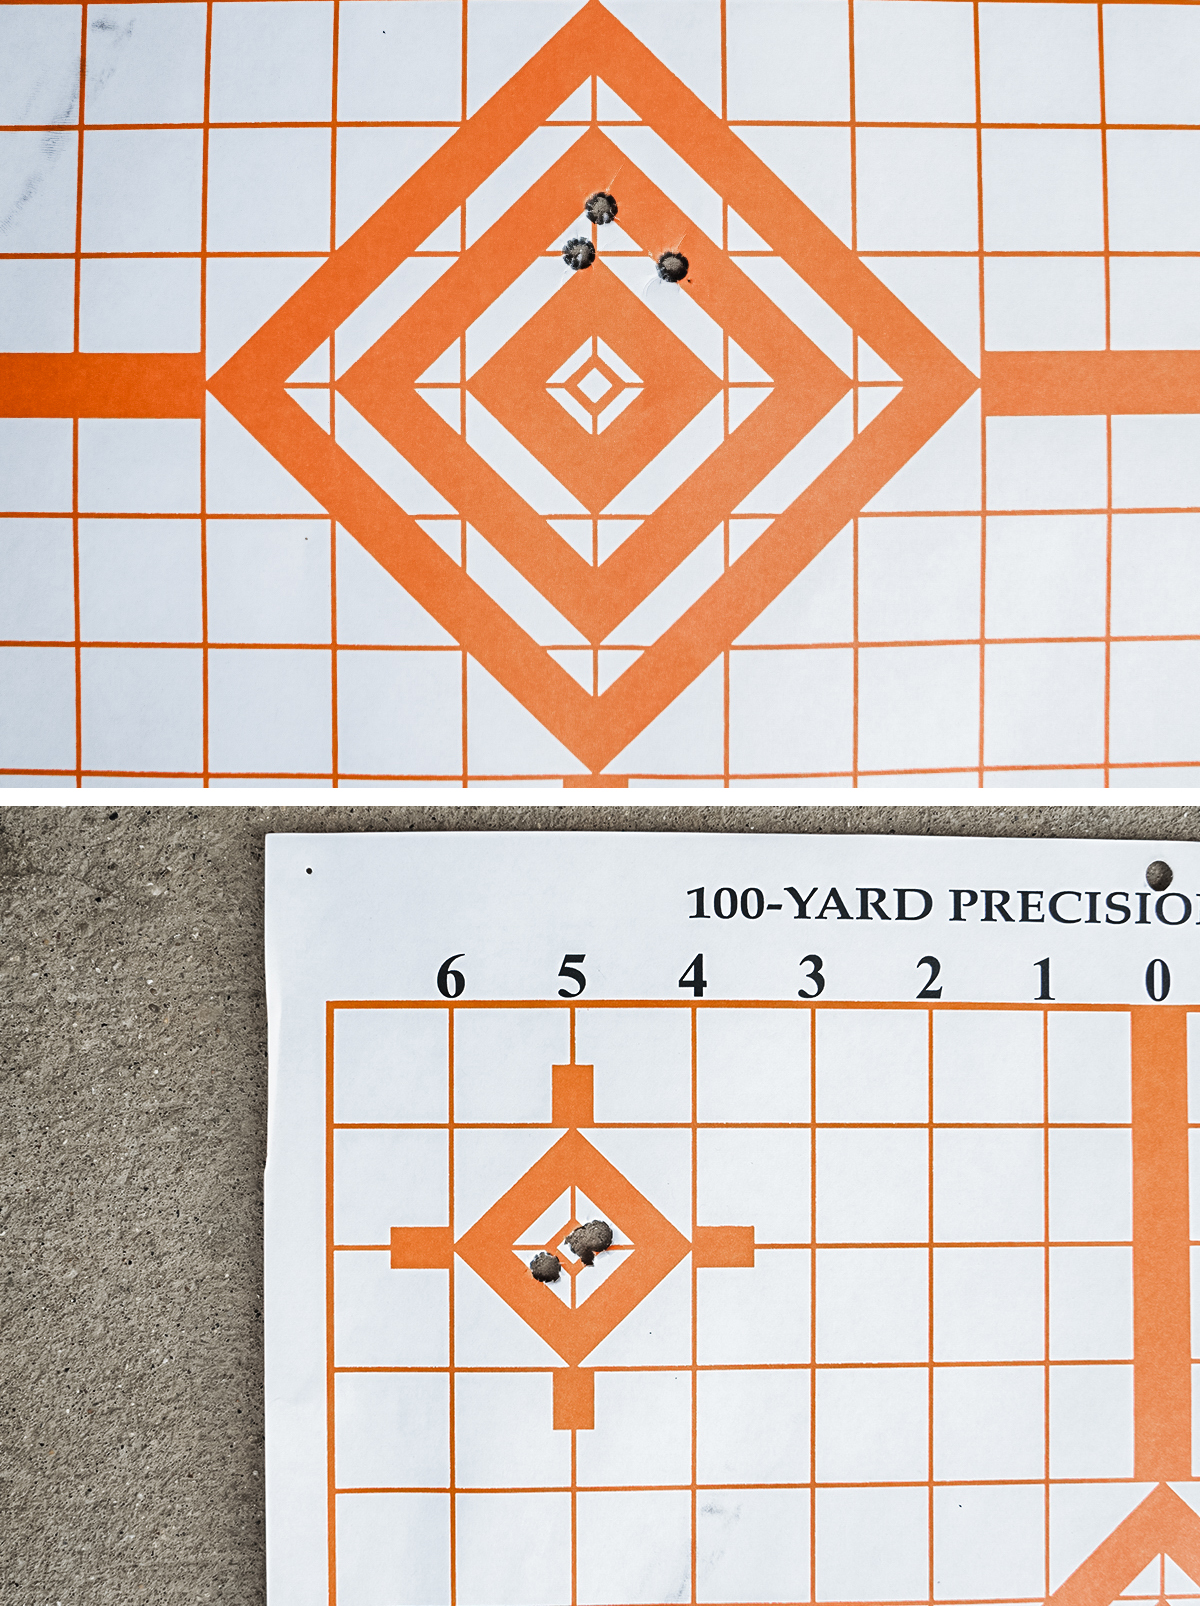
Zeroing your scope is critical, so make the rifle as stable as possible to eliminate human error. I prefer to zero rifles from the prone position since no bench is more stable than the planet. Long-range shooters typically use a 100-yard zero (remember to adjust the scope’s parallax knob accordingly).
My first shots landed about a foot low and an inch left. Normally, you’d be able to chalk that up to adjustments of 12 MOA up and 1 MOA, right, but remember that this is an MRAD scope, so the grid on my 100-yard precision rifle target didn’t correlate to clicks on the turrets.
Each click on the Strike Eagle (0.1 milliradians) moves the point of impact 0.36 inches at 100 yards, so I dialed in 33 clicks up and three clicks right. That got me close enough to make one more round of fine adjustments and squeeze three shots into a half-inch group.
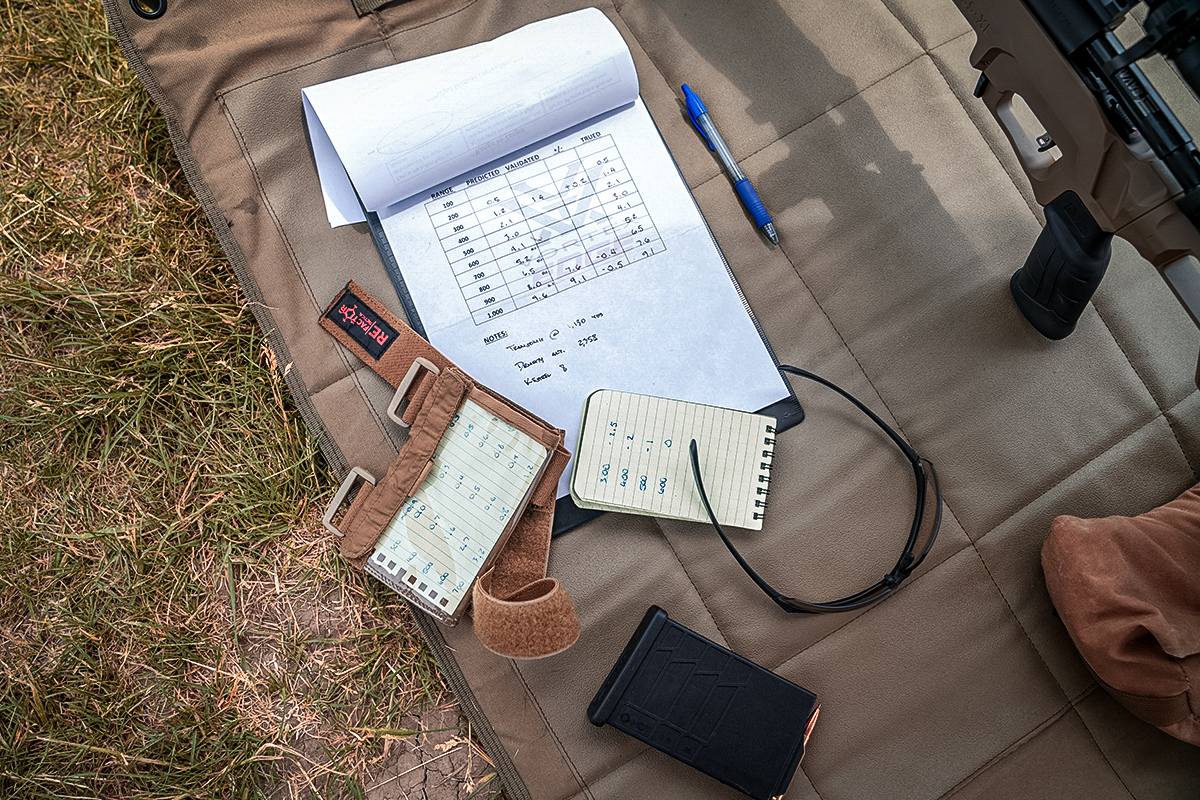
After confirming that my point of aim through the Strike Eagle matched the 110 Precision’s point of impact, I locked in my zero using Vortex’s Rev Stop system. Drop the ring into the turret, spin it clockwise until it stops, then reinstall the cap with the zero in position over the reference line on the scope — that’s it.
This allows the shooter to make adjustments and easily return to zero. The system allows the scope to dial 0.5 MRAD (1.25 MOA on MOA scopes) past zero to engage very close targets.
RELATED – Vortex Razor HD 4000 GB: High-Tech, Tough, and Precise
Long Range Shooting Gear AAR: What I’d Do Differently
Prior to attending Vortex Edge, I’d never shot farther than 500 yards. The fact that I was able to get hits out to 1,000 yards, make rapid strings of holdover shots anywhere from 300 to 700 yards, and shoot from unconventional positions is a testament to excellent instructors and quality equipment. I would like to make a few tweaks to this setup, though.
Gear I Love
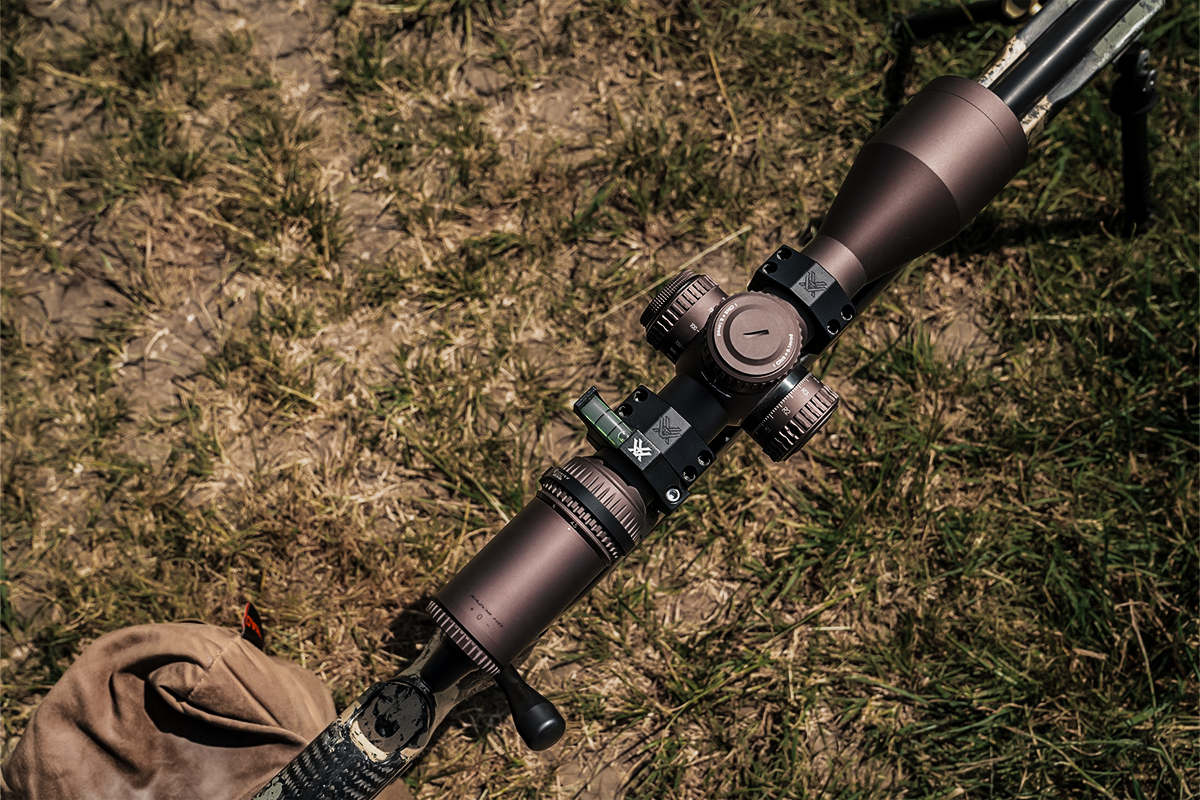
I couldn’t be happier with the rifle and scope I used. The Savage 110 Precision is an absolute tack driver, and it seemed to get better with every shot of 140-grain Hornady ELD Match. It will be a long time before I’m able to justify looking at anything more expensive, and even if you want to try competition shooting, there probably isn’t a reason to ask for more until you find something specific you want to change.
Admittedly, I had some scope envy when I saw the instructors’ Razor HD scopes, but the Strike Eagle never let me down. It has all the same features — the differences are in machining, glass quality, and durability. If you’re new to long-range shooting, I assure you that the Strike Eagle will not be your limiting factor. It’s accurate, easy to use, and has everything you need to smoke targets out to 1,000 yards.
Gear I’d Modify
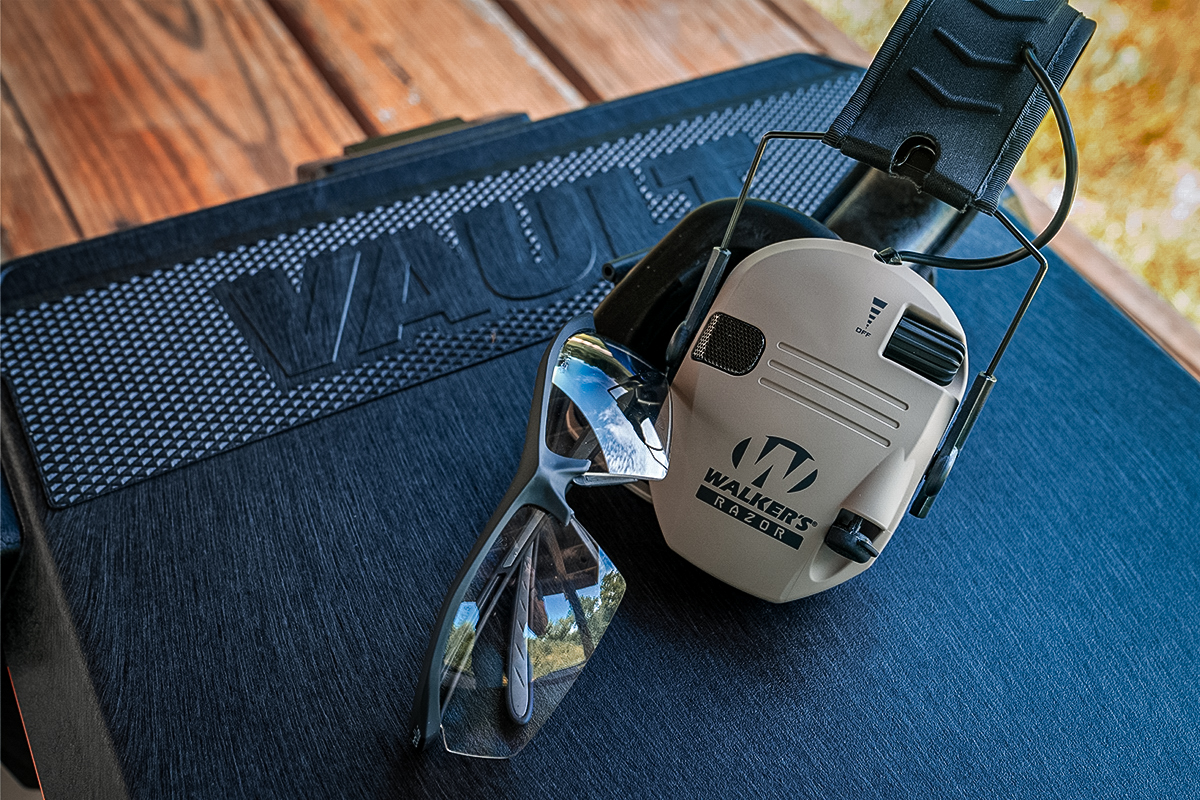
If you want to shoot PRS matches, consider a bipod that can easily be removed and installed without tools. Some of the other attendees enjoyed being able to shed their bipod for shooting off the ground — I didn’t have that option, but, again, that was not my limiting factor, and I found workarounds with the versatile Wiebad stability bags.
On the second day of the course, I switched from over-the-ear hearing protection to in-ear Walker’s Silencer earbuds. The batteries lasted all day, the adjustable sound quality was great, and they were way more comfortable than earmuffs. I also appreciated being able to flip my hat into sport mode without removing my ear pro.
The Wiebad bags are great. If anything, I want to protect them. I’ll throw a coat of wax on the Mini Fortune Cookie to keep it dry and give it a nice, tacky surface.
Gear I Didn’t Use (But You Should)
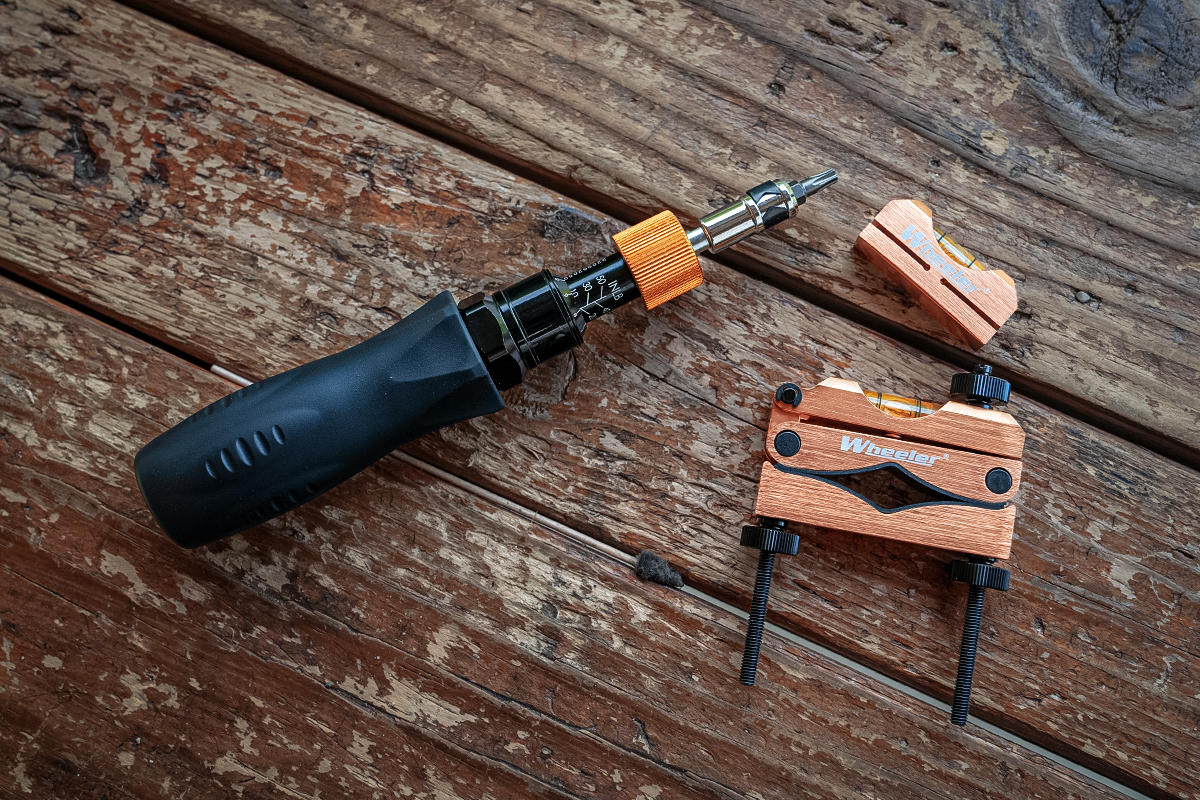
There are three pieces of gear I didn’t use that would be worth investing in. For less than $50, a scope level can ensure that your reticle is plumb and accurate when you shoot using its elevation sub-tensions.
A vertical grip can improve your trigger pull by aligning all shooting-hand pressure straight and to the rear even more than an angled pistol grip, and it lets you really pull that buttstock into your shoulder.
If you have the funds, a suppressor can make shooting a lot more enjoyable and safer for your hearing.
Shooting long range isn’t cheap, folks, but setups like this will give you a huge amount of bang for your buck. If you want to upgrade a component here and there down the road, that’s fine — just make sure you have a reason for everything you do.
READ NEXT – Springfield Model 2020 Redline Comes With Free Tax Stamp





Comments